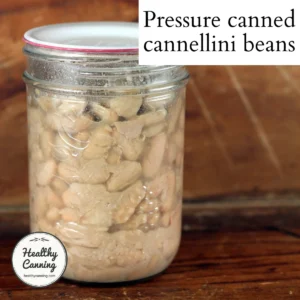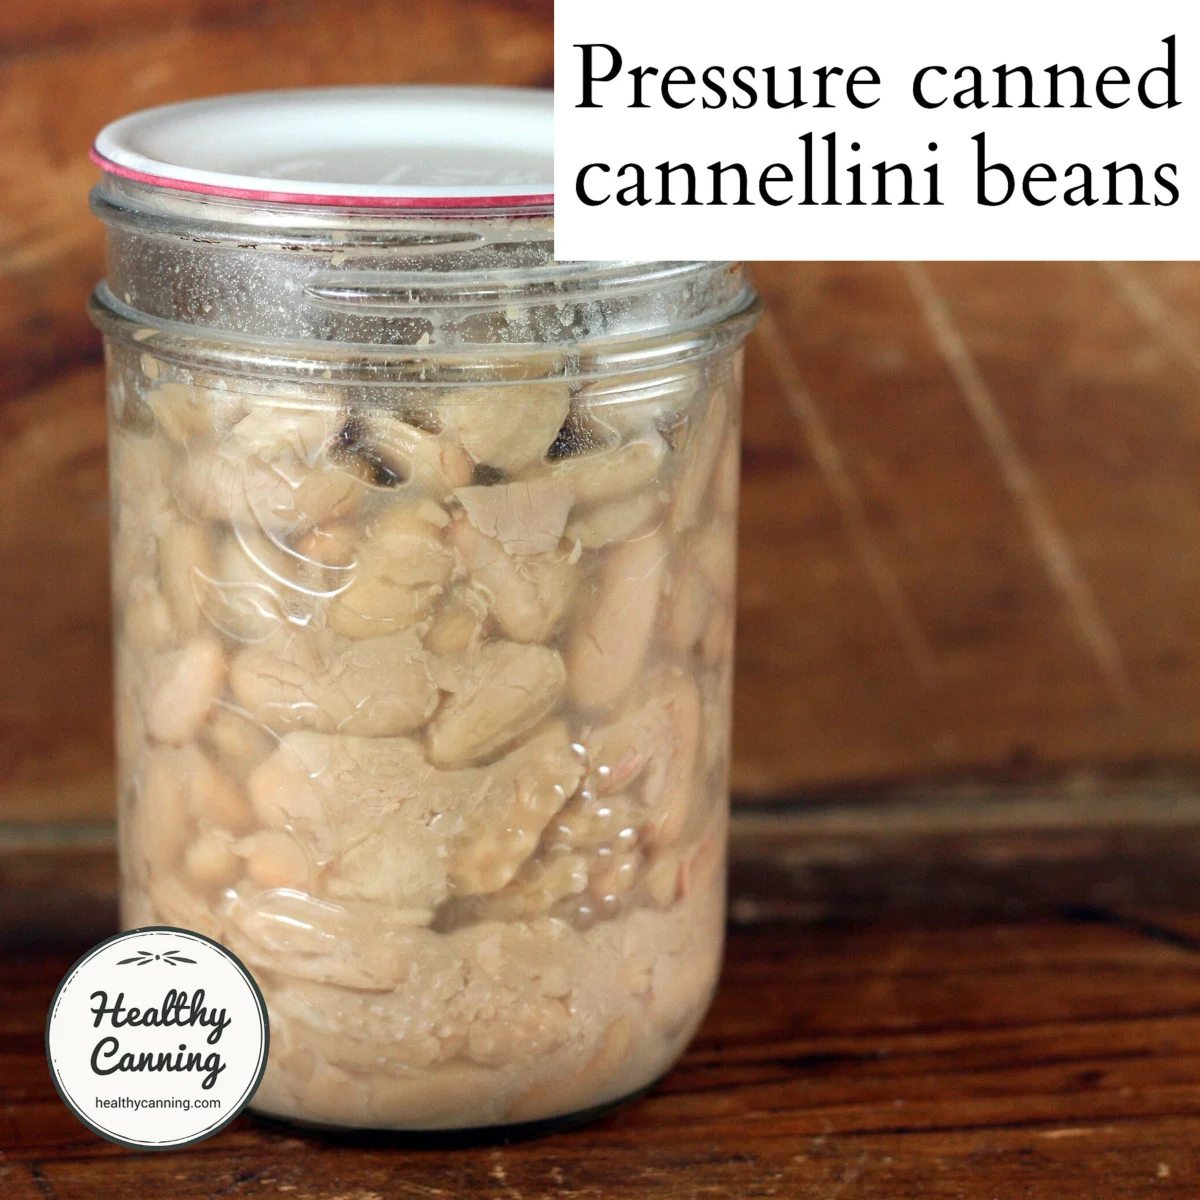

Cannellini beans, scientifically classified as a variety of Phaseolus vulgaris and frequently referred to as white kidney beans, serve as a cornerstone of Mediterranean cuisine and a vital source of plant-based protein for long-term food storage. While the convenience of commercially canned legumes is undeniable, the practice of home pressure canning offers significant advantages in terms of sodium control, cost-efficiency, and the elimination of chemical preservatives often found in industrial packaging. However, the preservation of low-acid foods such as beans requires strict adherence to scientifically validated protocols to ensure safety and quality. According to the United States Department of Agriculture (USDA) and the National Center for Home Food Preservation (NCHFP), the only safe method for canning dried legumes is the use of a pressure canner, as the high-heat environment is necessary to eliminate the spores of Clostridium botulinum, which can thrive in the anaerobic, low-acid conditions of a sealed jar.
The Technical Necessity of Pressure Canning for Legumes
The fundamental challenge in preserving cannellini beans lies in their pH level. As a low-acid food, beans do not possess the natural acidity required to inhibit the growth of dangerous pathogens when processed in a traditional boiling water bath, which only reaches a maximum temperature of 100°C (212°F) at sea level. To reach the 116°C to 121°C (240°F to 250°F) necessary to destroy botulinum spores, a pressurized environment must be maintained. Home cooks must utilize either a weighted-gauge or a dial-gauge pressure canner, ensuring the equipment is in proper working order and, in the case of dial gauges, recently calibrated for accuracy.
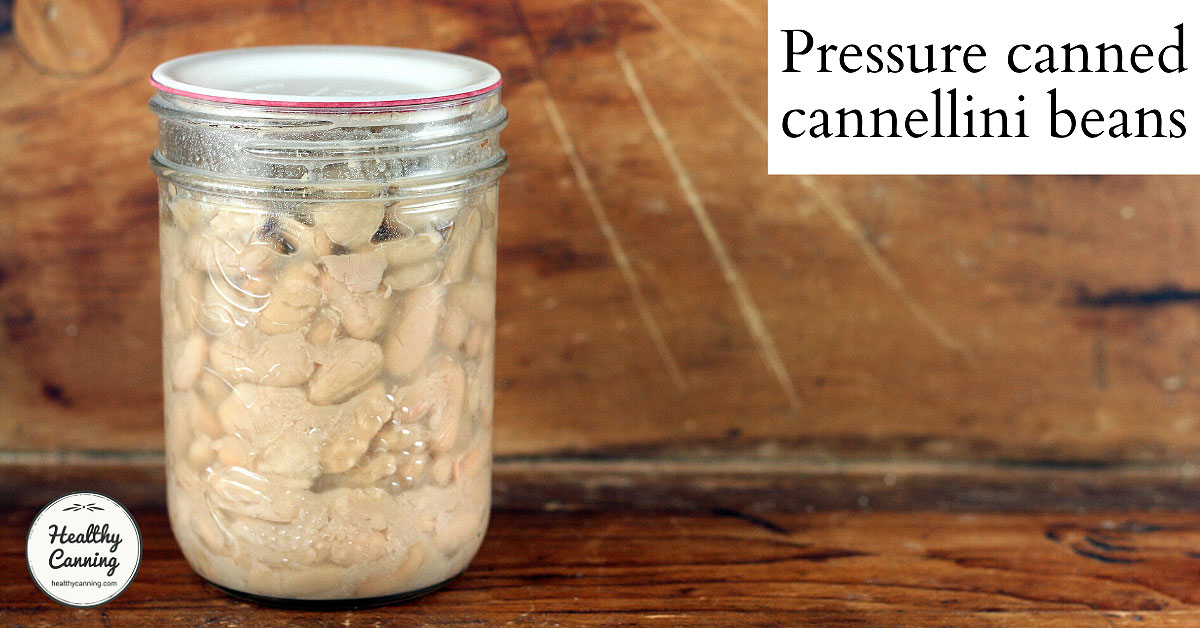
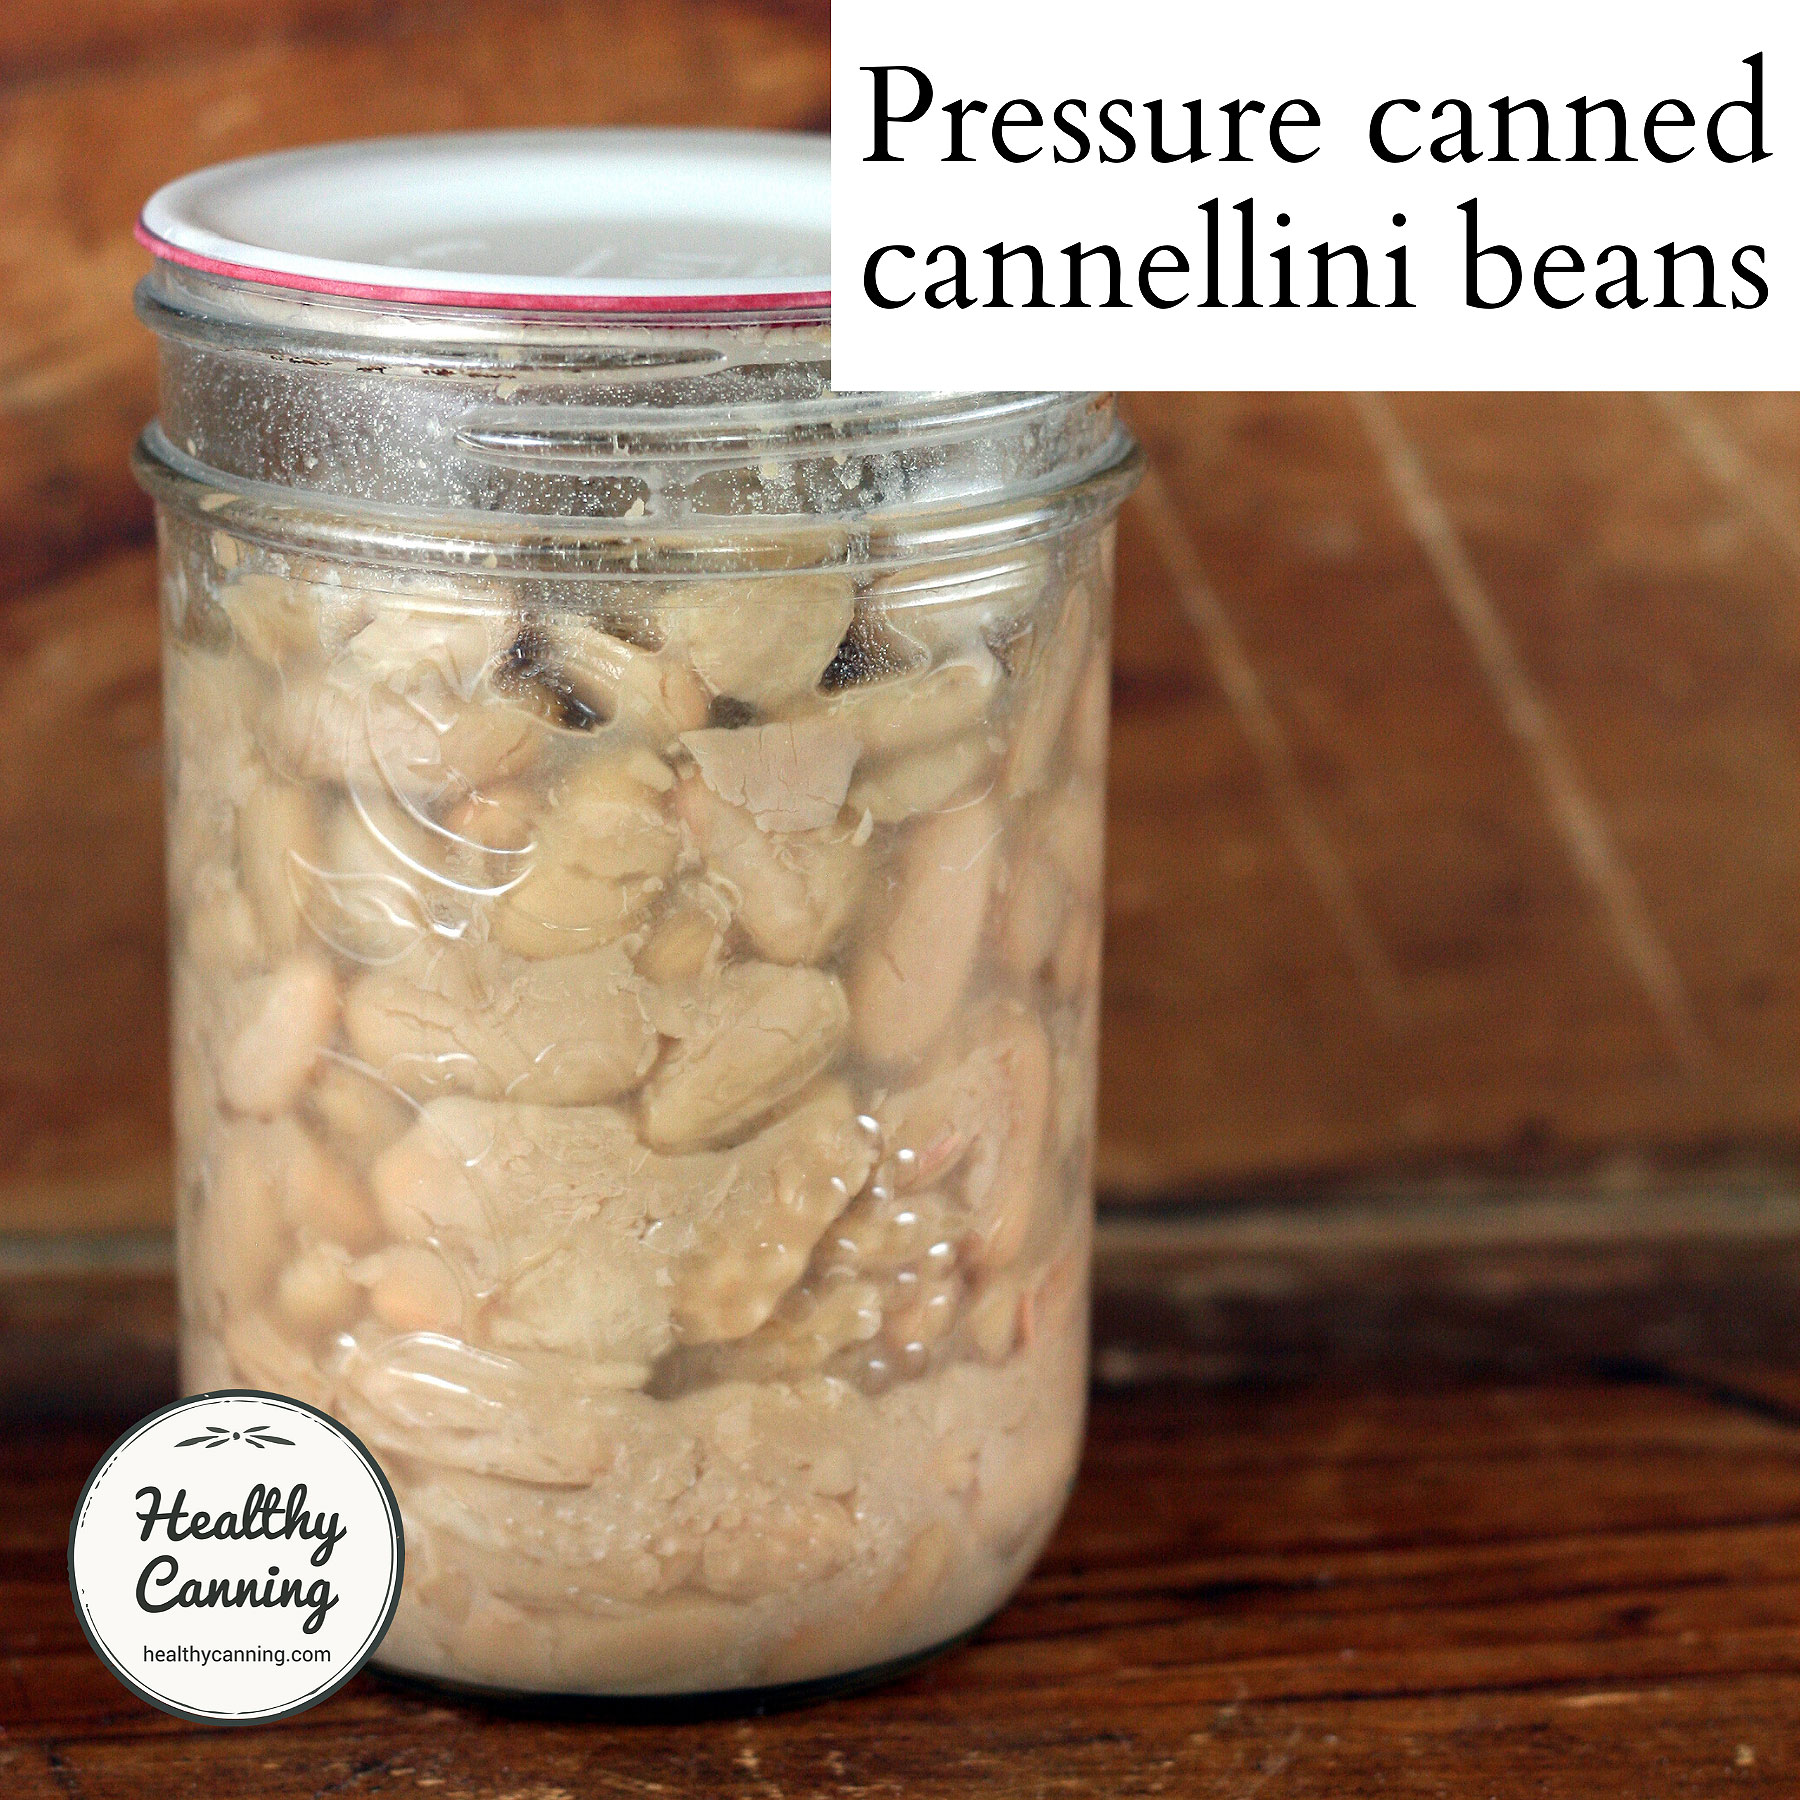
One of the primary characteristics of home-canned cannellini beans is their final texture. Due to the extended processing times required for safety—75 minutes for pints and 90 minutes for quarts—the beans undergo significant softening. This makes them less suitable for cold bean salads where a firm "bite" is desired, but exceptionally well-suited for applications such as Ribollita (a classic Tuscan bread and vegetable soup), bean pâtés, hummus-style spreads, and various stews. The natural starches released during the canning process contribute to a creamy consistency that enhances the mouthfeel of liquid-based dishes.
Chronological Procedure for Preparation and Processing
The process of home-canning cannellini beans begins long before the pressure canner is placed on the stove. The journey from dried legume to shelf-stable jar follows a rigorous chronology designed to ensure both the hydration of the bean and the safety of the final product.
Step 1: Sorting and Rehydration
The initial phase involves sorting through the dried cannellini beans to remove stones, debris, or shriveled specimens. Once cleaned, the beans must be rehydrated. There are two approved methods for this: the overnight soak and the quick soak. The overnight soak involves covering the beans with several inches of water and allowing them to stand for 12 to 18 hours in a cool place. The quick soak involves bringing the beans to a boil for two minutes, then removing them from the heat to soak for one hour. Regardless of the method, the soaking water must be discarded afterward to reduce the presence of complex sugars that contribute to digestive discomfort.
Step 2: Pre-cooking and Jar Preparation
Following the soak, the beans are placed in fresh water, brought to a boil, and simmered for 30 minutes. This pre-cooking stage is vital as it ensures the beans have expanded to their near-maximum size before being placed in the jars. During this time, canning jars should be cleaned and kept warm to prevent thermal shock.
Step 3: Packing and Headspace Management
The beans are then packed into jars, leaving exactly 3 cm (1 inch) of headspace. This space is critical; if the jars are overfilled, the expanding beans may interfere with the lid’s seal or cause the liquid to siphoning out during the pressure release phase. The jars are filled with the hot cooking liquid or fresh boiling water, and any trapped air bubbles must be removed using a non-metallic spatula.
Step 4: The Canning Cycle
Once the lids and bands are applied to "finger-tight" tension, the jars are placed in the pressure canner containing several inches of simmering water. The canner lid is locked, and the heat is increased. A crucial but often overlooked step is the "venting" process: steam must be allowed to escape from the vent pipe for a full 10 minutes before the weight is added or the petcock is closed. This ensures that the environment inside the canner consists entirely of steam, which conducts heat more effectively than air.
Technical Specifications and Altitude Adjustments
Safety in pressure canning is a function of time, temperature, and pressure. These variables must be adjusted based on the altitude of the processing location, as the boiling point of water decreases as elevation increases.
For cannellini beans, the processing times are standardized:
- Quarter-litre (1/2 US pint) jars: 75 minutes
- Half-litre (1 US pint) jars: 75 minutes
- One-litre (1 US quart) jars: 90 minutes
The required pressure for a weighted-gauge canner at altitudes between 0 and 300 metres (0 to 1,000 feet) is 10 pounds (69 kPa). For those living at altitudes above 300 metres, the pressure must be increased to 15 pounds (103 kPa) to compensate for the lower atmospheric pressure. Failure to make these adjustments results in under-processing, which poses a significant health risk. Dial-gauge users must similarly adjust their targets, typically aiming for 11 lbs at low altitudes and increasing as necessary per USDA guidelines.
Nutritional Profile and Economic Impact
The nutritional value of home-canned cannellini beans is impressive, particularly when compared to other protein sources. A standard 130g serving (approximately half a cup) of home-canned beans without added salt contains roughly 100 calories, 6 grams of protein, and 5 grams of dietary fiber. They are also rich in essential minerals, providing 250mg of potassium, 40mg of calcium, and 1.8mg of iron.
From an economic perspective, the shift from purchasing pre-canned beans to home-canning dried beans represents a substantial saving. Dried beans are among the most cost-effective shelf-stable proteins available on the market. Furthermore, home canning allows the consumer to bypass the "hidden" costs of commercial food production, such as the use of BPA-lined cans and high concentrations of sodium used as a flavor enhancer and preservative. In a home-canning environment, salt is optional and used only for seasoning, as it does not play a role in the actual preservation of the food.
Regulatory Context and Official Guidelines
The standards for canning cannellini beans are derived from the "USDA Complete Guide to Home Canning," specifically Agriculture Information Bulletin No. 539, last significantly updated in 2015. This document is the result of decades of laboratory testing by the USDA and the NCHFP. These organizations emphasize that recipes for home canning should not be altered. Modifications to the density of the product—such as mashing the beans into a paste before canning—can alter the heat penetration rate, leading to cold spots where bacteria might survive. Therefore, beans must be canned whole in a liquid medium to ensure the safety of the final product.
Industry experts and Master Food Preservers often highlight the importance of "margin of safety" in these guidelines. The 75-to-90-minute processing times are designed to account for minor fluctuations in heat or pressure, providing a robust defense against foodborne illness.
Culinary Implications and Broader Impact
The resurgence of home canning reflects a broader societal trend toward food sovereignty and sustainability. By mastering the preservation of cannellini beans, households can reduce their reliance on global supply chains and minimize packaging waste. In the kitchen, the availability of high-quality, soft cannellini beans allows for the rapid preparation of nutrient-dense meals.
The soft texture of the home-canned bean is a culinary asset in specific contexts. For instance, in the preparation of "Fagioli all’uccelletto"—a traditional Florentine dish of beans with sage and tomato—the tender beans absorb the flavors of the sauce more readily than firmer, commercially processed alternatives. Similarly, for those practicing plant-based diets, these beans serve as an ideal base for creamy dairy-free sauces and protein-rich spreads.
The broader impact of these practices extends to emergency preparedness. A pantry stocked with home-canned legumes provides a reliable source of nutrition that requires no refrigeration and minimal energy to prepare during power outages or supply disruptions. As more consumers become wary of ultra-processed foods, the transparency of the home-canning process—where the only ingredients are beans, water, and perhaps a pinch of salt—offers a compelling alternative to the modern industrial food complex.
In conclusion, while the process of pressure canning cannellini beans requires specialized equipment and meticulous attention to detail, the rewards are significant. By adhering to the USDA-validated processing times and pressure settings, home preservers can create a safe, delicious, and versatile pantry staple that honors both traditional culinary techniques and modern safety standards. Through the careful management of headspace, venting, and altitude adjustments, the home cook transforms a simple dried legume into a cornerstone of a healthy, self-sufficient kitchen.