Last year, a baking class co-taught at Chimacum Valley Grainery in Washington for The Baker’s Corner members offered a profound culinary inspiration. The event, a collaboration between the author and renowned baker Graison Gill, featured a diverse menu of artisanal breads, among them a standout whole-grain sourdough pita crafted by Gill. This particular pita, characterized by its hearty texture, delicate softness, and the distinct sweetness imparted by freshly milled grain, left an indelible impression, sparking a creative endeavor to replicate and evolve the recipe. This article delves into the genesis of this whole wheat sourdough pita, its nuanced preparation, and its connection to the Pacific Northwest’s agricultural heritage and the enduring spirit of community in baking.
The inspiration for this revisited pita recipe stems from a shared experience that highlights the intersection of artisanal baking, local agriculture, and community engagement. The class, held at the Chimacum Valley Grainery, a prominent farm and mill in Washington, provided a tangible link to the source of the ingredients. Graison Gill, known for his innovative approach to grain and fermentation, developed a barley-based sourdough pita that resonated deeply with the author. This recipe is a testament to that encounter, a homage to the inspiring environment of the Pacific Northwest, and the powerful connections forged through shared passion for baking.
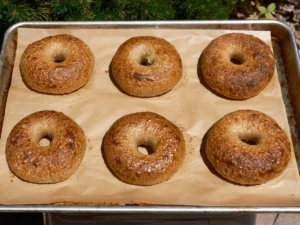
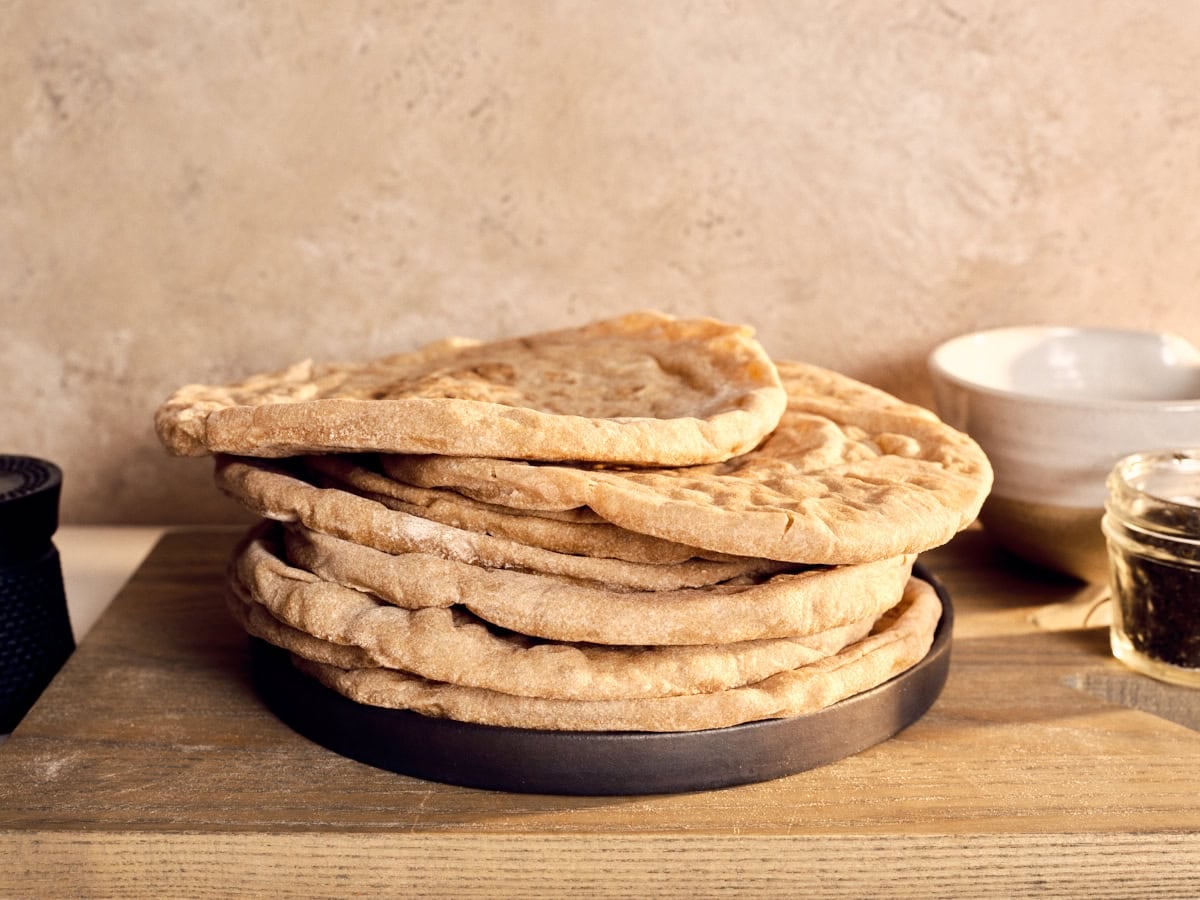
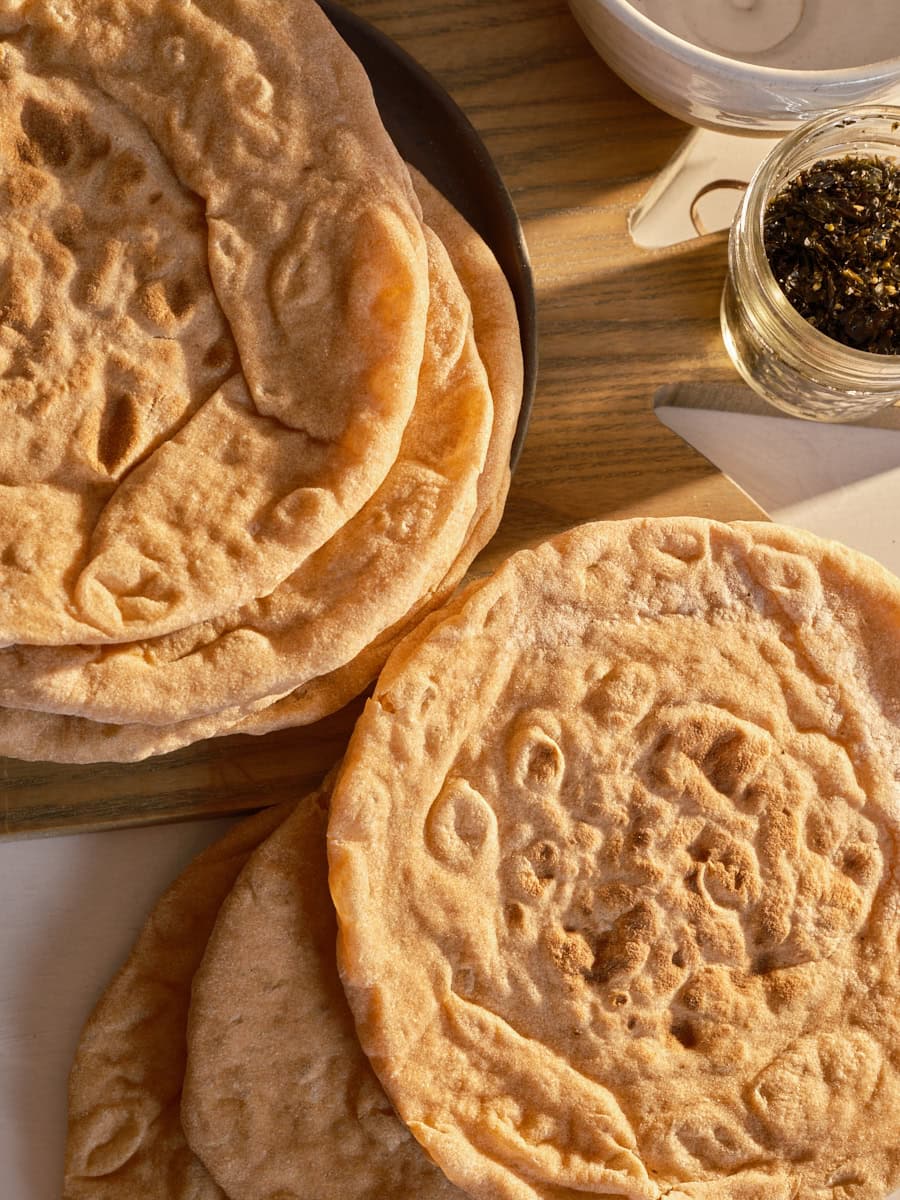
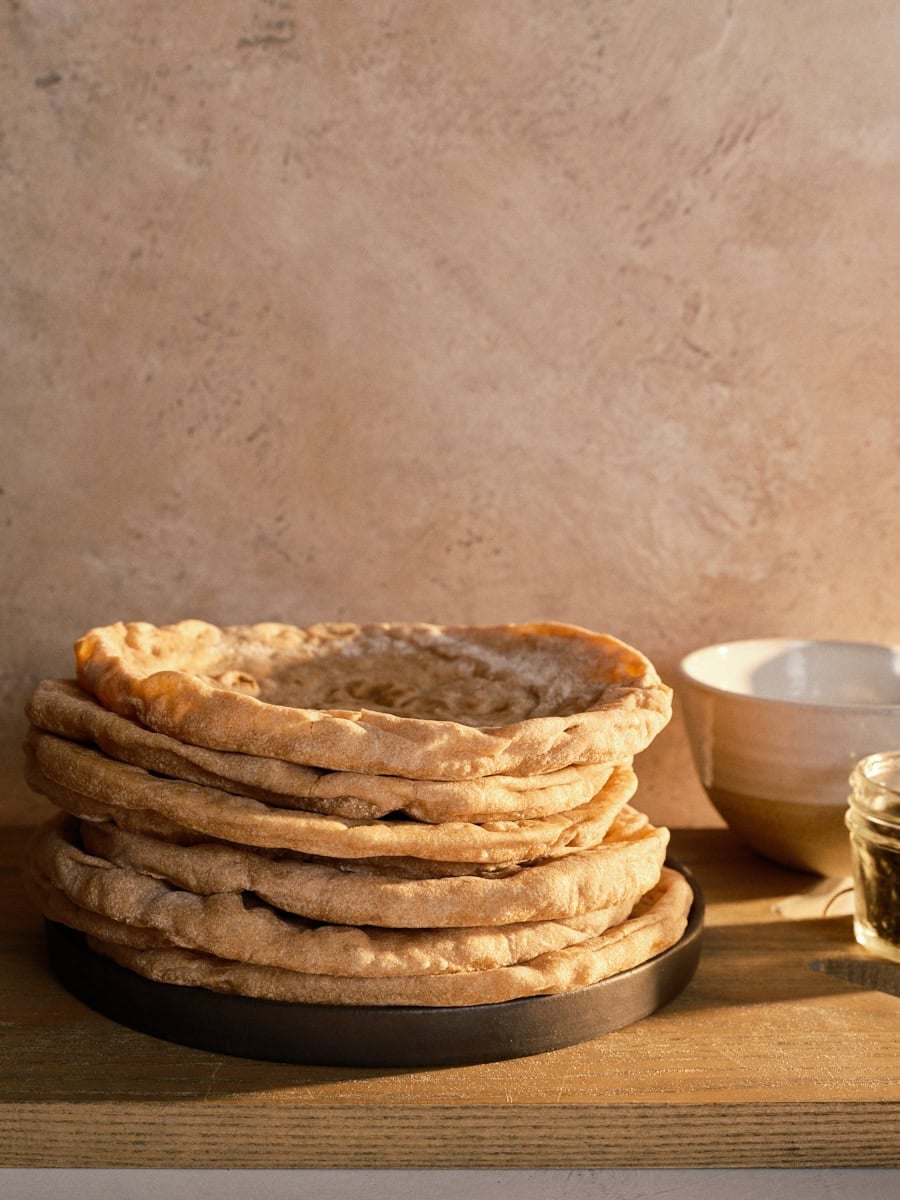
While the author has a history of developing sourdough pita recipes, including a lighter, more ethereal version featured in their first cookbook and an unpublished variation incorporating ancient grains and sweeteners, this current iteration represents a deliberate pursuit of a fully whole-grain pita. The objective was to achieve a bread that is not only entirely whole grain but also remarkably soft, consistently puffs in the oven, and possesses the complex flavor profile derived from the synergy of sourdough fermentation and high-quality whole-grain flour. The author notes that each iteration has been rewarding, but this particular whole wheat sourdough pita stands apart due to its exceptional texture and robust flavor, which contributes to a sense of well-being often associated with consuming nutrient-dense whole grains.
The Mechanics of a Perfectly Puffed Pita
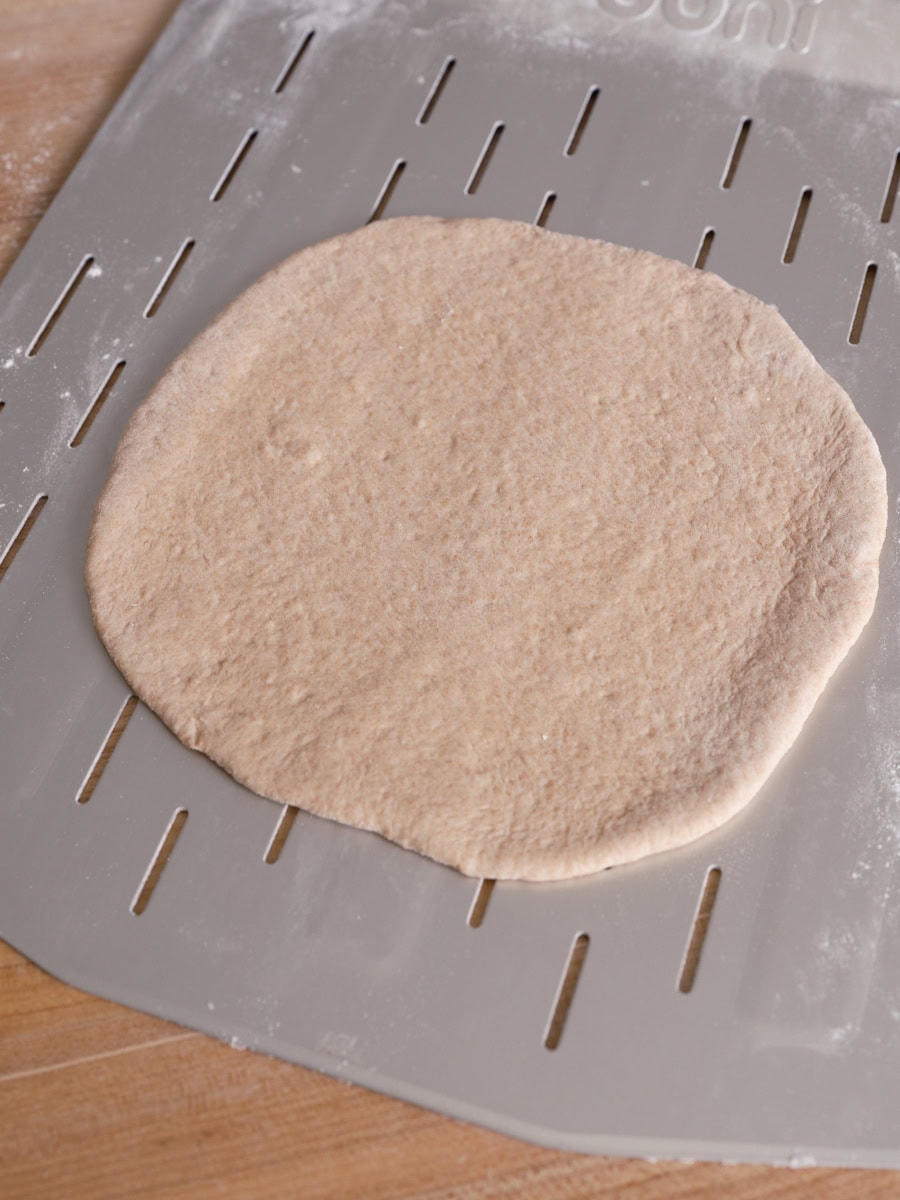
Achieving the signature puff of a pita bread is a culinary science that relies on several key factors. The process involves rapid expansion of steam within the dough when exposed to intense heat, creating an internal pocket. For optimal results, the dough must be rolled to a consistent thickness, typically around 1/8 inch. This uniformity ensures that the steam can generate an even lift. The oven and baking surface, whether a baking steel or stone, must be preheated to extremely high temperatures, often exceeding 550°F (290°C). This intense heat is crucial for the immediate generation of steam and the rapid cooking required for the puff. Furthermore, preventing the formation of a dry skin on the dough before or during baking is vital, as a skin can inhibit the dough’s ability to expand. The provided visual guidance emphasizes rolling the dough to an approximate 1/8-inch thickness, a critical step for achieving the desired puff.
Flour Selection: The Foundation of Flavor and Texture
The foundation of this whole wheat sourdough pita is the flour. The recipe specifies 100% whole wheat flour, with a particular recommendation for whole-grain bread flour from Chimacum Valley Grainery. This choice underscores the commitment to using high-quality, locally sourced ingredients that contribute significantly to the bread’s unique flavor and nutritional profile. The natural sweetness and robust character of freshly milled whole grains are central to the pita’s appeal.
For those seeking to introduce nuanced variations, the recipe offers flexibility. Up to 20% of the whole wheat flour can be substituted with other whole-grain flours. Historically, whole triticale and whole spelt have been successfully incorporated, each lending its own distinct flavor notes and textural qualities to the final product. This adaptability allows bakers to explore a spectrum of whole-grain profiles while maintaining the core characteristics of the sourdough pita.
A Baking Schedule Designed for Convenience and Flavor Development
The development of this sourdough pita recipe prioritized practicality without compromising on quality. The aim was to create a nourishing bread that is relatively quick to prepare, even during a busy workweek. The baking schedule is structured to facilitate this, typically requiring an overnight levain build. However, for added convenience, bakers can opt to use their ripe sourdough starter directly, thereby eliminating the need for a separate levain preparation. This alternative approach allows for the dough to be mixed in the morning, with fresh pita ready for dinner.
Maintaining a controlled fermentation timeline is not only convenient but also instrumental in moderating the overall sourness of the bread. This is particularly important when working with a high proportion of whole-grain flour, which can naturally contribute a more pronounced tang. The controlled fermentation ensures a mild, yet deeply flavored pita.
For bakers who prefer to spread the preparation over two days, the dough can undergo a bulk retardation period in the refrigerator. This involves refrigerating the dough after an initial 2-hour bulk fermentation. The following day, the dough is brought out to continue with the dividing and shaping process, offering flexibility in the baking schedule.
Key Metrics for Success: Vitals and Formula
To achieve the desired outcome, understanding the recipe’s vital statistics is essential. This recipe yields ten individual pita breads, each weighing approximately 120 grams. The total dough weight is 1,320 grams. The prefermented flour accounts for 9.5% of the total flour, with the levain comprising 22.0% of the final dough. The hydration level is a notable 84.0%, contributing to the dough’s pliability and the final pita’s soft texture.
The target final dough temperature for this whole wheat sourdough pita is between 77-78°F (25-26°C), a crucial parameter for optimal sourdough fermentation.
The total formula for the dough is as follows:
- Whole wheat flour (Chimacum Valley Grainery Bread Flour): 699g (100.0%)
- Extra-virgin olive oil: 14g (2.0%)
- Water 1 (for levain and mix): 503g (72.0%)
- Water 2 (for mix): 84g (12.0%)
- Fine sea salt: 14g (2.0%)
- Ripe sourdough starter, 100% hydration: 7g (0.95%)
The Method: A Step-by-Step Guide to Whole Wheat Sourdough Pita
1. Prepare the Levain (Approximately 9:00 p.m.)
For the levain, the following ingredients are combined:
- Whole wheat flour: 66g (100.0%)
- Water 1: 66g (100.0%)
- Ripe sourdough starter, 100% hydration: 7g (100.0%)
These ingredients are mixed in a sourdough starter jar and left to ripen overnight at a temperature of 74-76°F (23-24°C). Alternatively, ripe sourdough starter can be used directly in the morning, though this may introduce a minuscule amount of white flour if the starter is not 100% whole grain, thus deviating slightly from a purely whole-grain composition.
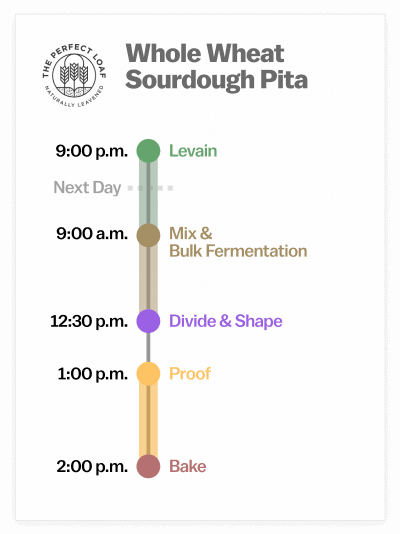
2. Mix the Dough (Approximately 9:00 a.m.)
The main dough ingredients are:
- Whole wheat flour: 632g
- Water 1: 437g
- Water 2: 84g
- Fine sea salt: 14g
- Ripe levain (from Step 1): 139g
- Extra-virgin olive oil: 14g
While an autolyse step is often beneficial for whole-grain flours, a brief rest during mixing is sufficient for this recipe to ensure adequate water absorption.
- Mechanical Mixer Method: The dough is mixed in phases using a spiral mixer. This process is designed to develop gluten structure efficiently while incorporating all ingredients.
- Hand Mixing Method: Combine flour, levain, salt, and Water 1 in a bowl. Mix thoroughly using wet hands or a dough whisk. Knead for 6-8 minutes using slap-and-fold or bowl-folding techniques until smooth. Rest for 5 minutes. Incorporate Water 2 gradually while kneading for an additional 6-7 minutes until the dough is smooth and cohesive. Transfer to a bulk fermentation container and cover.
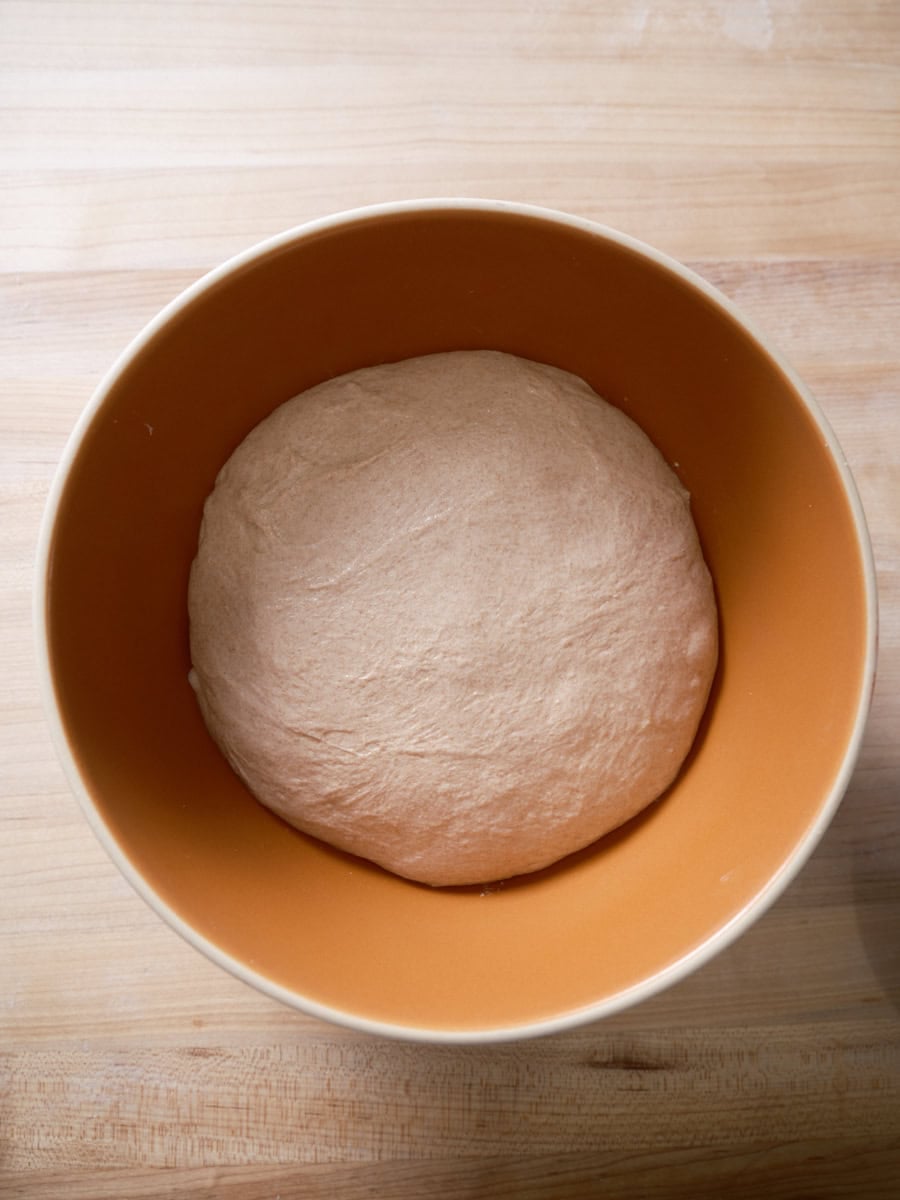
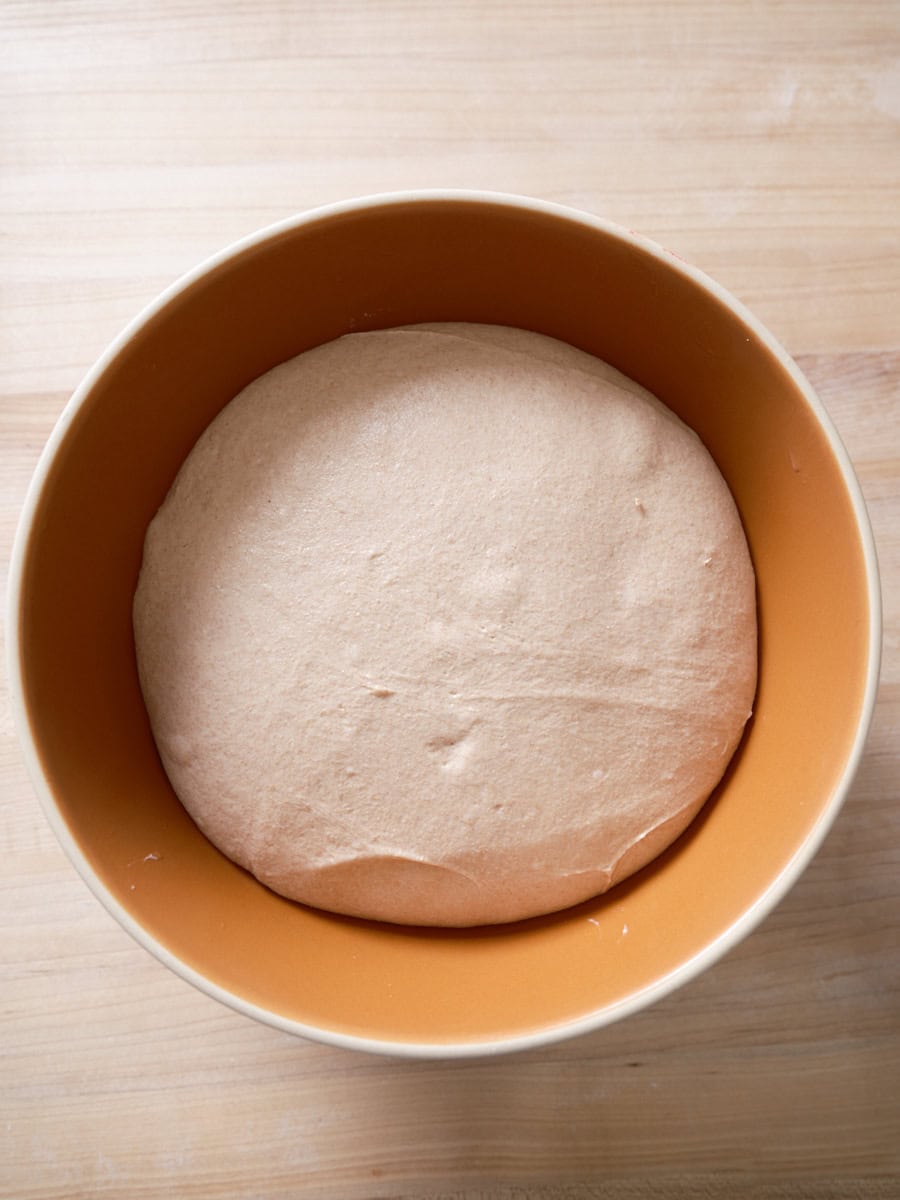
3. Bulk Fermentation (Approximately 9:30 a.m. to 12:30 p.m. – 3 hours)
At a warm room temperature of 74-76°F (23-24°C), the bulk fermentation typically lasts about 3 hours. This phase includes two sets of stretch and folds, performed at 30-minute intervals. The first set involves stretching and folding the dough on each side, rotating the bowl to ensure even tension. A second set of stretches and folds is performed after another 30 minutes. The dough is then left to rest, covered, for the remainder of the bulk fermentation period. By the end of this stage, the dough should appear smooth, puffy, and have increased in volume by approximately 25%.
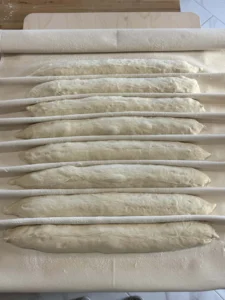
4. Divide and Shape (Approximately 12:30 p.m.)
Lightly flour a half sheet pan. Gently turn the fermented dough onto a floured surface and divide it into ten equal portions of 120 grams each. Shape each piece into a tight ball by degasing, folding in the sides, and then creating surface tension by dragging the ball against the work surface. Pinch the seams closed on the bottom and place the shaped balls on the prepared baking sheet, ensuring adequate space between them.
5. Proof (Approximately 1:00 p.m. to 2:00 p.m. – 1 hour)
Cover half of the baking sheet to allow the dough to proof. Simultaneously, preheat the oven to 550°F (290°C) with a baking steel or stone positioned on the middle rack. The oven should preheat for at least 1 hour while the dough proofs.
6. Bake (Approximately 2:00 p.m.)
The dough is ready for baking when it has increased in volume by about 30% and feels soft to the touch, passing a gentle poke test. For 100% whole wheat dough, it’s advisable to bake it before it begins to overproof.
Before baking, ensure all tools are prepared. Uncover the proofed dough. Gently lift one piece and place it in a bowl of flour, flipping to coat both sides. Transfer to the work surface and pat down, then roll out to a 7-inch diameter and approximately 1/8-inch thickness. Avoid pressing too hard, as this can compress the dough. Use flour as needed to prevent sticking.
Transfer the rolled-out dough to a floured pizza peel. Slide it into the preheated oven. Bake for 1-2 minutes until it puffs, then carefully flip with a fish spatula and bake for another minute on the other side. Remove the pita to a towel-lined container and cover to keep it soft. Repeat with the remaining dough pieces.
These whole wheat sourdough pitas can be stored in a sealed bag at room temperature for up to a week. Reheat gently in a low oven or toaster oven before serving.
Frequently Asked Questions About Sourdough Pita
- Why won’t my pita puff in the oven? Insufficiently thin rolling, uneven thickness, or a lack of proper preheating of the oven and baking surface can prevent puffing. A dry skin on the dough can also hinder expansion.
- Why does only half of my pita puff? This is often due to uneven rolling thickness, where one side puffs while the other remains flat.
- Why is my pita forming large bubbles all over? This can occur when the dough is close to overproofing, leading to the formation of large, irregular bubbles rather than a uniform puff. Reducing the proofing time in future batches may resolve this.
Culinary Horizons: Beyond the Pita
For those who enjoy the versatility of flatbreads, exploring alternatives like sourdough tortillas, perfect for burritos, offers another avenue for culinary creativity. This whole wheat sourdough pita recipe, rooted in tradition and refined through careful experimentation, represents a significant achievement in whole-grain baking, offering both sustenance and exceptional flavor.