The persistent chill of the recent month has been a formidable adversary, but a new sourdough creation, infused with the warm embrace of spices and the earthy depth of buckwheat, offers a comforting and robust solution. This bread is not merely a culinary delight; it’s a testament to the power of baking to transform the dreariest of seasons into an opportunity for warmth and sensory pleasure. The very act of preparing this loaf, from the pungent aroma of freshly ground anise to the visual appeal of a buckwheat-speckled dough and the silky texture derived from a flour scald, serves as a potent antidote to the encroaching darkness and dry chill of winter.
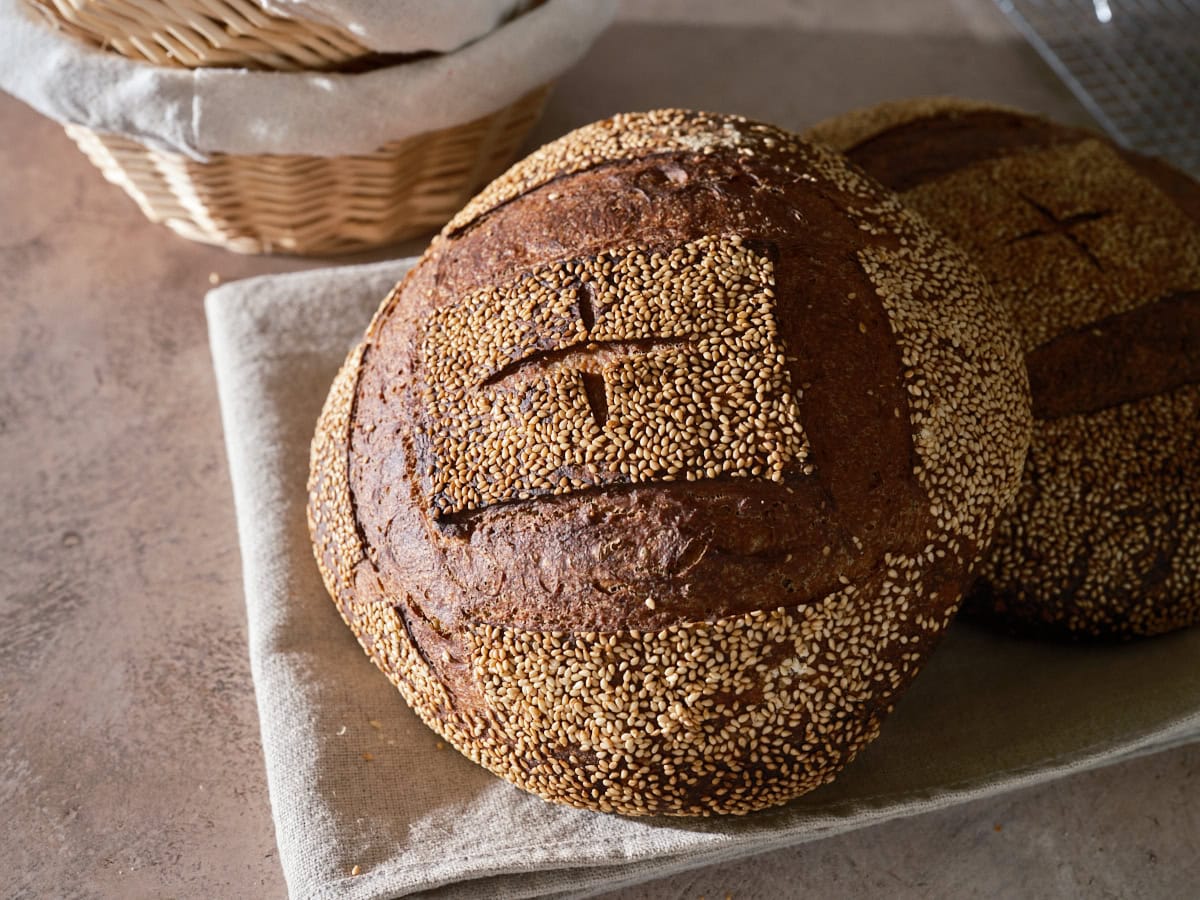
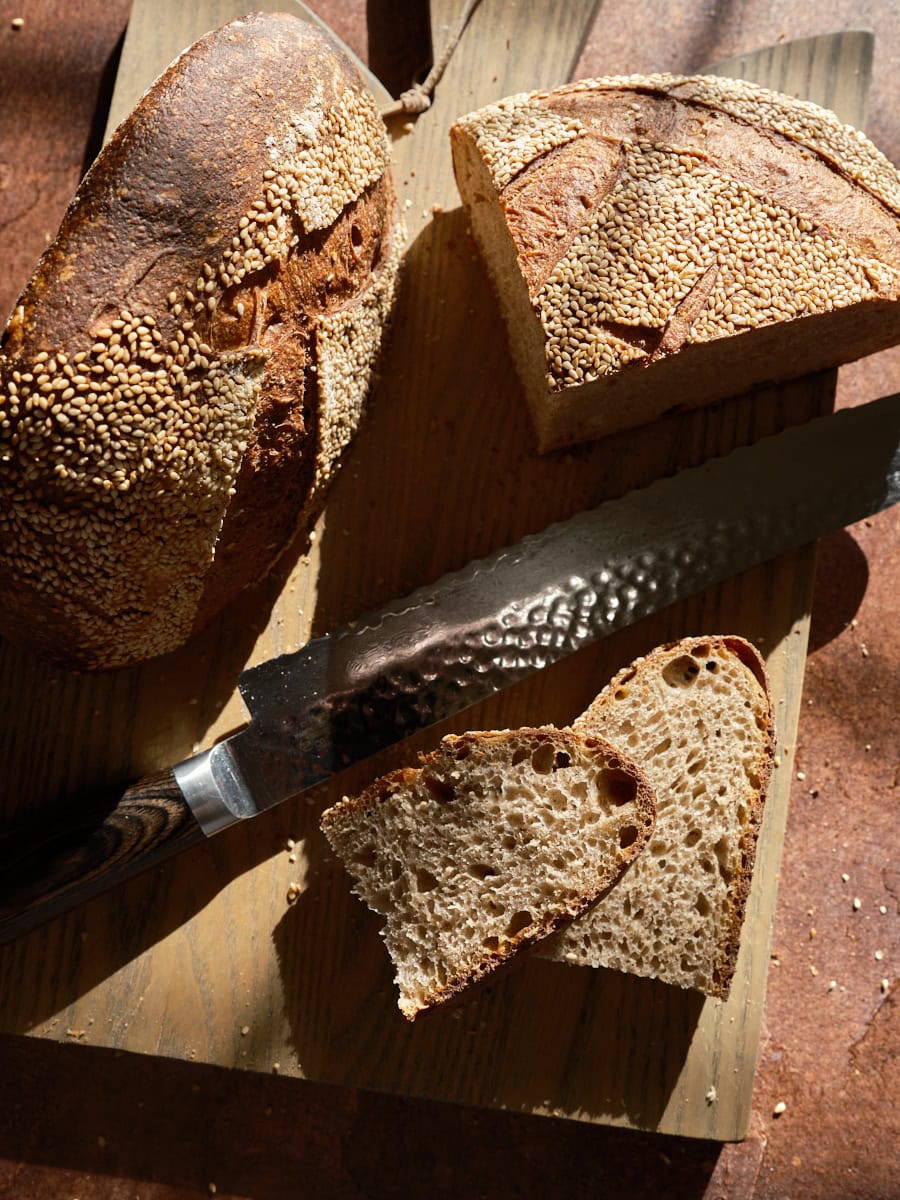
The star of this recipe is undoubtedly anise, a spice whose bold, licorice-sweet character does not shy away from announcing its presence. As the author notes, "Anise doesn’t politely wait for you to smell it. It arrives." This assertive fragrance is a beloved component in many baked goods, from the author’s own sourdough discard biscotti to a myriad of cookies. However, its inclusion in a large-format sourdough loaf marks a novel exploration, demonstrating a willingness to push the boundaries of traditional bread-making. The marriage of anise with buckwheat, a grain celebrated for its nutty, mineral, and slightly tannic undertones, results in a sourdough bread that achieves a remarkable balance, making it utterly irresistible. To complete this flavor symphony, a topping of striking white sesame seeds not only complements the existing spices and sweetness but also adds a visually stunning contrast to the whole-grain crust.
The Science Behind the Scald: Enhancing Texture and Flavor
A key technique employed in this recipe is the flour scald, a method that significantly elevates both the flavor profile and textural complexity of the final bread. Scalding flour involves simply pouring boiling water over it, which gelatinizes the starches and transforms it into a thick, luscious paste. This process is akin to the Japanese Yudane technique and shares fundamental similarities with the popular Tangzhong method. The resulting scald is intensely aromatic and flavorful, and crucially, it plays a vital role in retaining moisture within the bread. This enhanced moisture-holding capacity helps to keep the loaf softer for an extended period, effectively delaying the staling process. This simple yet effective technique adds a discernible "something extra" to each bake, making it a favored method for bakers seeking to imbue their creations with superior texture and shelf life.
Flour Selection: A Foundation of Flavor and Nutrition
The foundation of this hearty loaf is a high-extraction (Type 85) flour, specifically Cairnspring’s Trailblazer. This flour is a recognized "workhorse" in many kitchens, often substituted for standard white flour to introduce a greater proportion of bran and germ. This inclusion not only deepens the flavor but also boosts the nutritional content of the bread.
Buckwheat, while not a cereal grain but rather a pseudocereal, brings a unique character to the dough. Based on prior experience, even small percentages of buckwheat can lead to a denser crumb due to its lack of gluten-forming proteins, a characteristic shared with other gluten-free grains. However, this trade-off is well worth it, as buckwheat imparts an intense earthiness and a beautiful, rich color that is a hallmark of this particular sourdough.
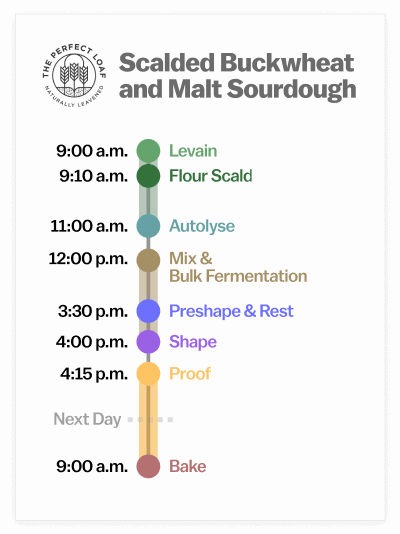
The Baking Chronology: A Two-Day Process
This sourdough bread recipe is thoughtfully designed to unfold over two days, requiring minimal active intervention from the baker. The process begins with the preparation of the levain, followed by the flour scald and autolyse. The bulk fermentation phase involves a few sets of stretch and folds, after which the dough is shaped and undergoes a significant cold proof in the refrigerator overnight. The following morning, the loaves are baked, offering the option to enjoy fresh bread for breakfast or delay the baking until the evening for a pre-dinner treat. This structured timeline ensures optimal flavor development and fermentation, culminating in a beautifully structured loaf.
Recipe Vitals and Total Formula
This recipe yields two loaves, each weighing approximately 900 grams. For those wishing to adjust the batch size, all ingredients can be halved to produce a single loaf. A comprehensive, editable spreadsheet is available for members of The Baker’s Corner, facilitating easy scaling of the recipe.
The target final dough temperature for this recipe is 78°F (26°C). Maintaining precise dough temperature is crucial in baking, influencing fermentation rates and overall dough development. For a detailed discussion on this topic and other temperature-related considerations, further resources are available.
The total formula for this Scalded Buckwheat and Malt Sourdough Bread is as follows:

- Scald:
- Buckwheat flour: 46g (5.0% of total flour weight)
- Water: 73g (8.0% of total flour weight)
- Main Dough:
- High-extraction wheat flour (Type 85): 687g (75.0% of total flour weight)
- Whole wheat flour: 183g (20.0% of total flour weight)
- Barley malt syrup: 46g (5.0% of total flour weight)
- Ground aniseed: 6g (0.6% of total flour weight)
- Water 1 (levain and autolyse): 596g (65.0% of total flour weight)
- Water 2 (mix): 92g (10.0% of total flour weight)
- Fine sea salt: 18g (2.0% of total flour weight)
- Ripe sourdough starter (100% hydration): 53g (5.8% of total flour weight)
The overall dough weight is 1800 grams. The prefermented flour accounts for 5.8% of the total flour, with the levain constituting 18.5% of the final dough. The hydration level stands at 75.0%, which increases to 83% when the water incorporated in the flour scald is included.
Step-by-Step Method: Crafting the Scalded Buckwheat and Malt Sourdough
Day 1:
1. Prepare the Levain (9:00 a.m.)
To prepare the levain, combine 53g of high-extraction wheat flour, 53g of water, and 53g of ripe sourdough starter (100% hydration) in a clean jar. Cover and allow it to ripen at a temperature of 74-76°F (23-24°C) for approximately 3 hours. For those who wish to adjust the levain quantity for other recipes or modifications, a sourdough starter and levain calculator is available.
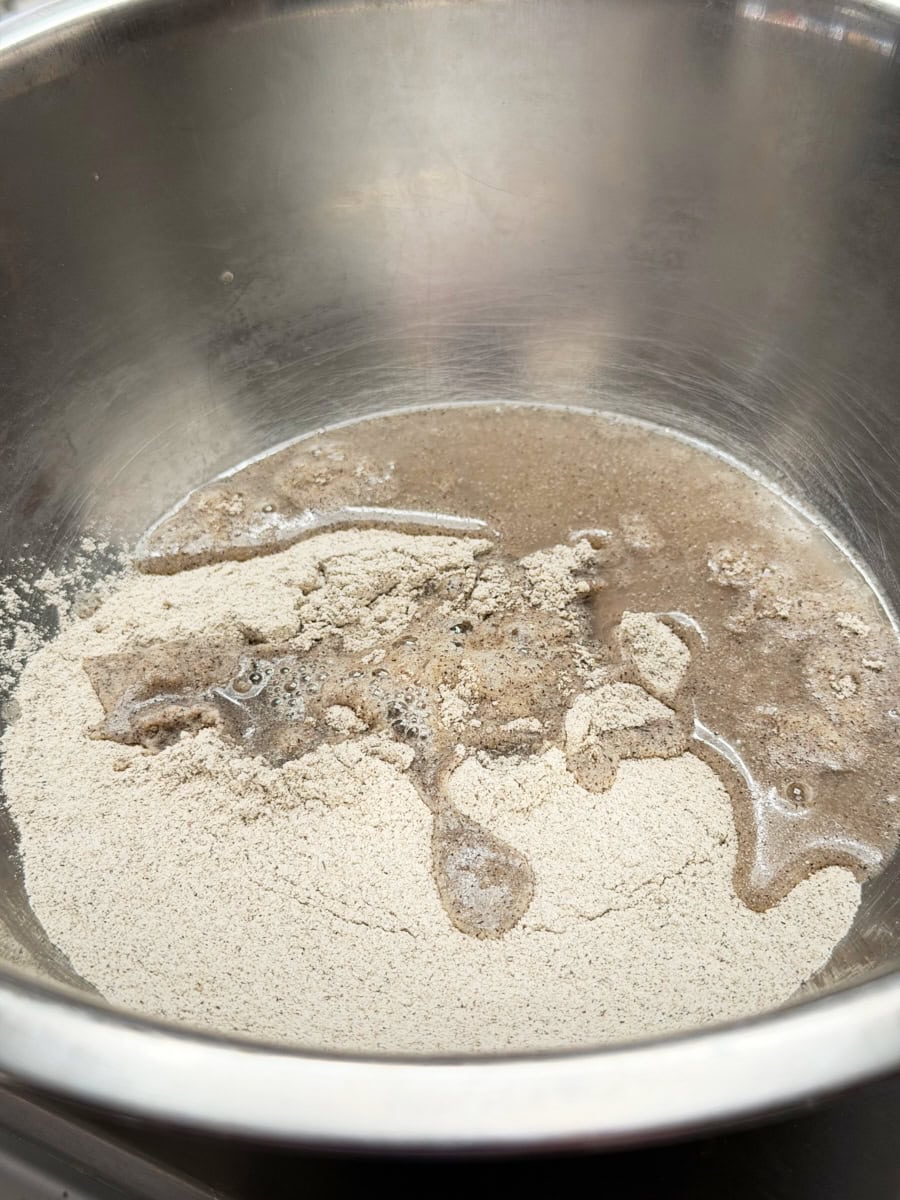
2. Prepare the Flour Scald (9:10 a.m.)
In a small bowl, combine 46g of buckwheat flour with 73g of boiling water. Stir vigorously until a uniform paste forms. If the mixture appears too dry, a small additional splash of boiling water can be added. Cover the bowl and set it aside until ready for dough mixing. The resulting scald is highly aromatic and contributes significantly to the bread’s unique character.
3. Autolyse (11:00 a.m.)
In a large bowl, combine 634g of high-extraction wheat flour, 183g of whole wheat flour, 543g of water (adjusted using a water temperature calculator to achieve the target final dough temperature of 78°F/25°C), and the prepared flour scald. Mix with wet hands until no dry ingredients remain, or use a mixer on low speed until just combined. The dough will appear shaggy and loose at this stage. Use a bowl scraper to gather the dough into the bottom of the bowl. Cover and let it rest for 1 hour. During this autolyse period, the dough will strengthen and become more hydrated.
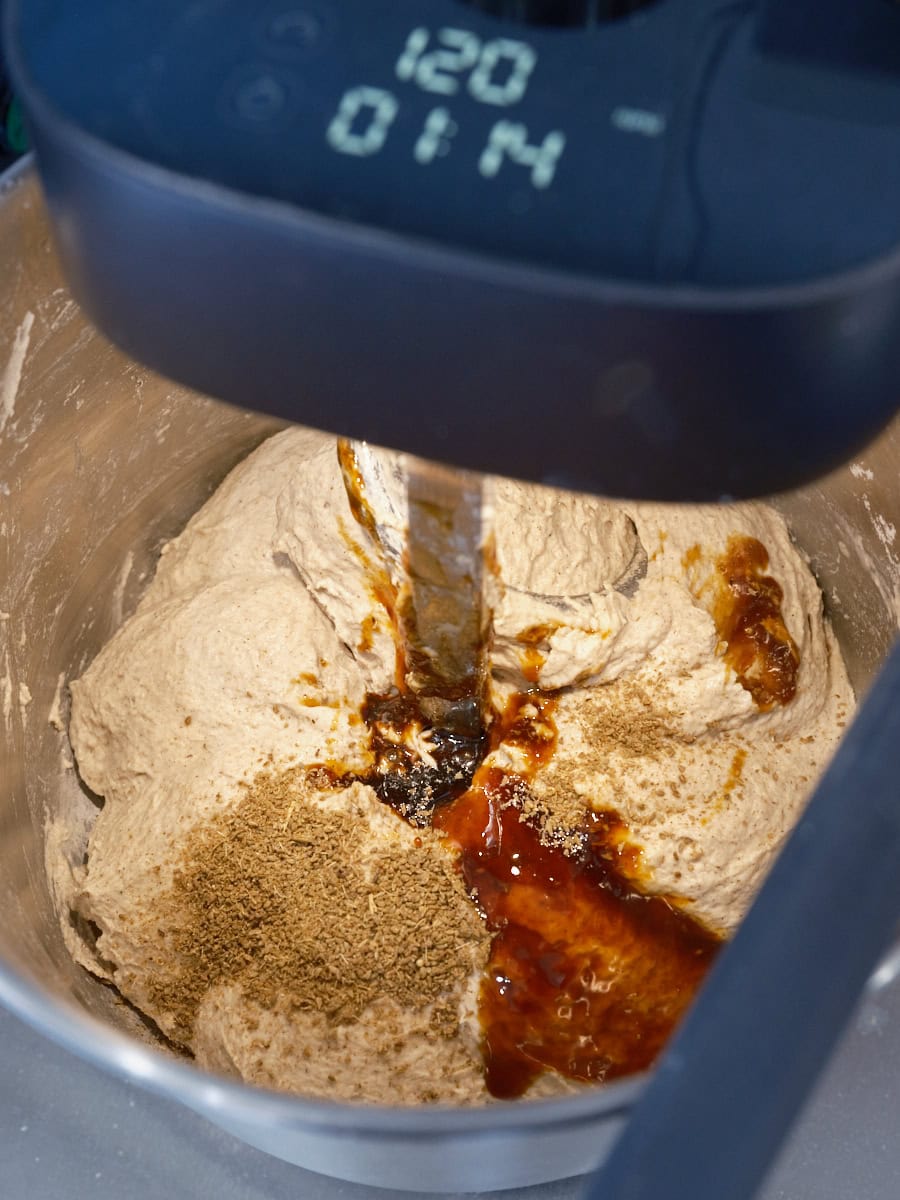
4. Mix the Dough (12:00 p.m.)
To the autolysed dough, add 92g of water (Water 2), 18g of fine sea salt, and 159g of the ripe levain. This recipe features a high hydration level, so it’s crucial to hold back a portion of Water 2 and add it only if the dough can comfortably incorporate it. This "bassinage" technique helps prevent over-hydration.
- Mechanical Mixing: If using a spiral mixer, incorporate the ingredients in phases. After the autolyse, add the salt and levain. Mix on low speed for 2 minutes, then increase to medium speed for 4-5 minutes until the dough is smooth and elastic. If the dough feels too tight, gradually add the remaining Water 2.
- Hand Mixing: Add the salt and levain to the top of the autolysed dough, along with a splash of Water 2 to moisten. Mix thoroughly with wet hands or a dough whisk. Knead the dough for approximately 5 minutes using either the slap-and-fold technique or the folds-in-the-bowl method until it is smooth and cohesive. Transfer the dough to a bulk fermentation container, cover, and let it rest for 10 minutes. If the dough still feels shaggy and can accommodate more liquid, incorporate the remaining Water 2. Perform another 3-5 minutes of slap-and-fold on a lightly floured surface or continue with bowl folds.
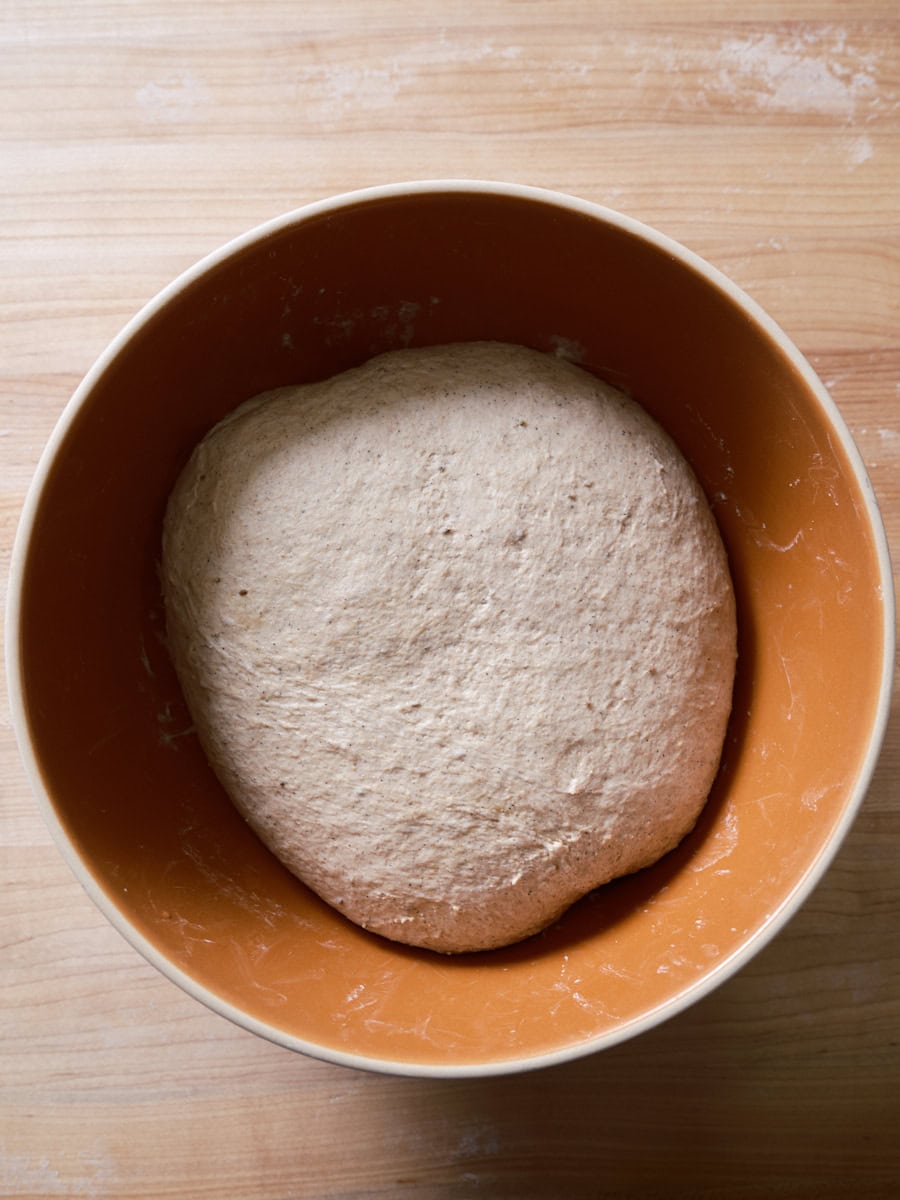
5. Bulk Fermentation (12:30 p.m. to 3:30 p.m. – 3 hours)
At a warm room temperature (74-76°F / 23-24°C), bulk fermentation should last for approximately 3 hours. This phase requires two sets of stretch and folds, performed at 30-minute intervals.
- First Set: After 30 minutes of bulk fermentation, perform a series of stretch and folds. Gently pull one side of the dough upwards and fold it over the center. Rotate the bowl 180 degrees and repeat. Then, rotate 90 degrees and perform another stretch and fold, followed by a final 180-degree rotation and stretch and fold. Cover the dough.
- Second Set: Perform another set of stretch and folds after another 30 minutes. After the second set, allow the dough to rest, covered, for the remainder of the bulk fermentation.
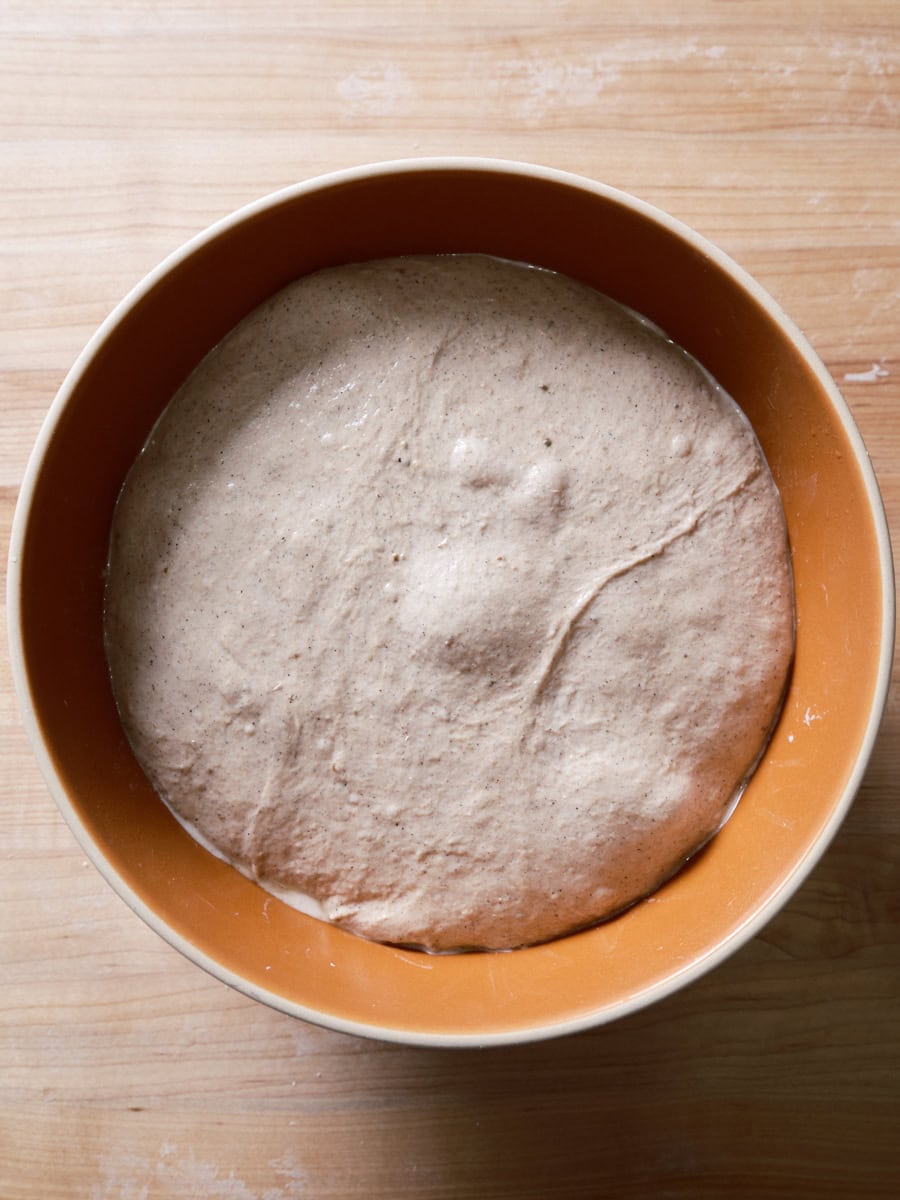
6. Pre-shape (3:30 p.m.)
After 3 hours, the dough should appear smooth, puffy, and have increased in volume by approximately 30%. Gently turn the dough out onto a lightly floured work surface. Divide the dough in half and preshape each portion into a loose round. Allow these rounds to rest for 30 minutes, uncovered.
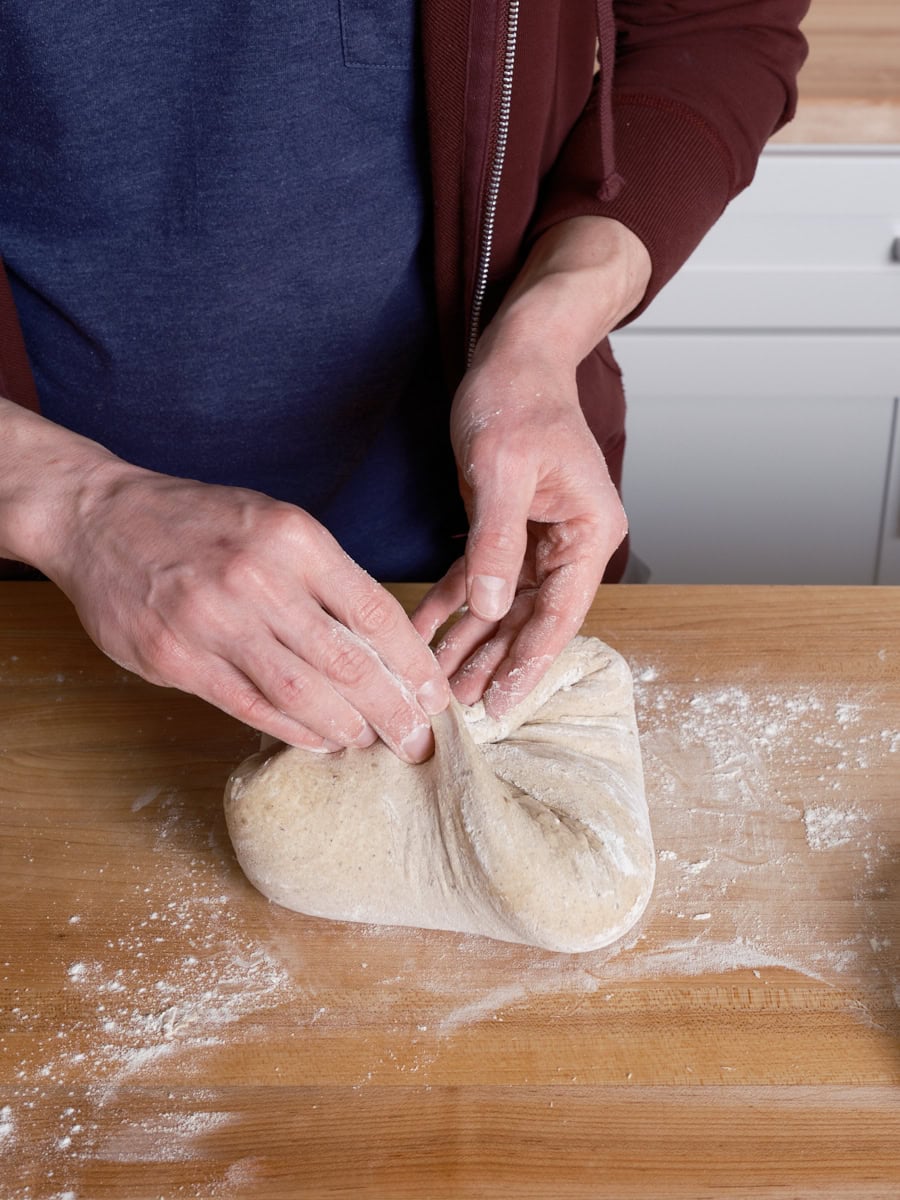
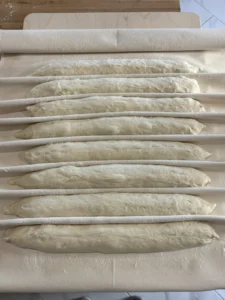
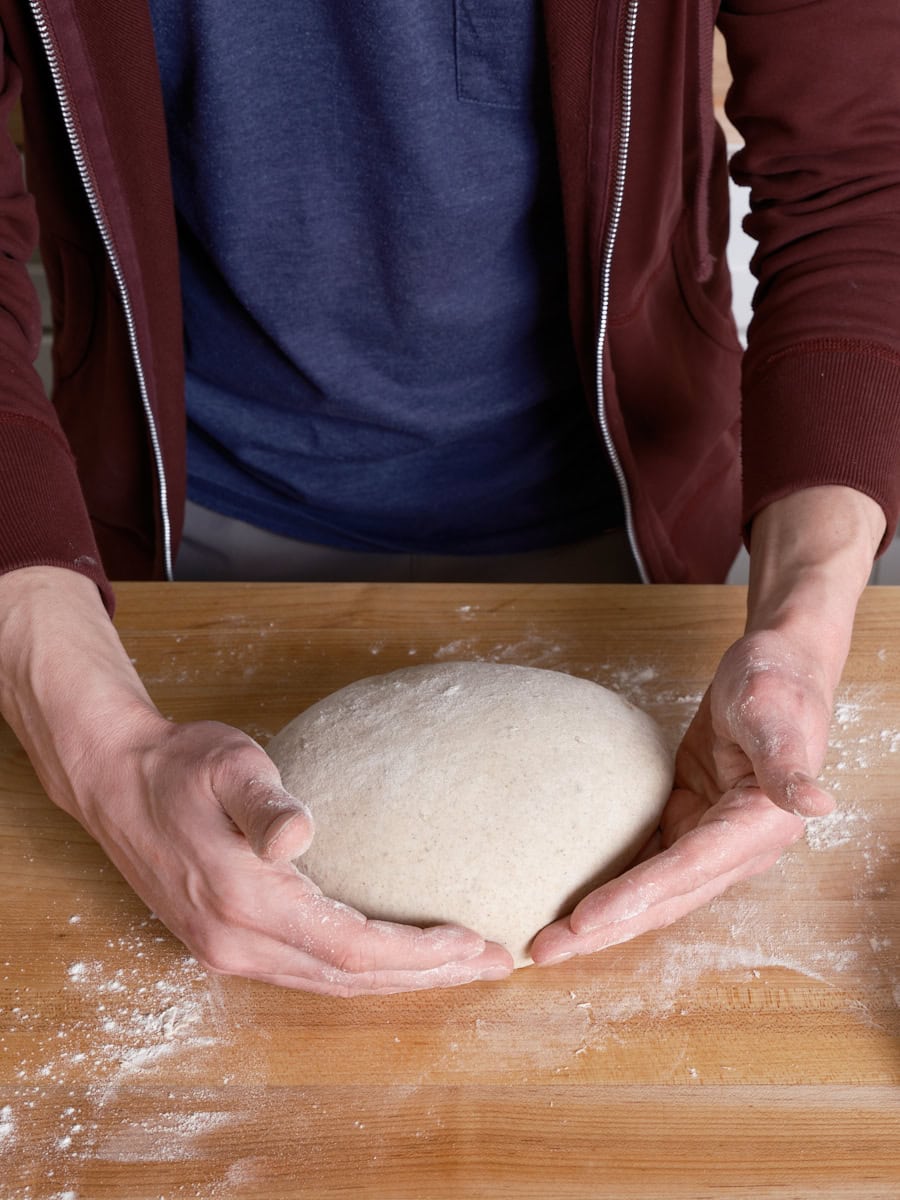
7. Shape (4:00 p.m.)
Generously spread white sesame seeds onto a kitchen towel or a quarter sheet pan. Flour the tops of the rested dough rounds. Invert one dough round onto the floured surface. Using a bench scraper, fold two opposing points of the dough into the center, slightly overlapping them. Repeat with the other two opposing points. Flip the dough over and use your hands to drag it towards you, creating tension on the top surface, resulting in a smooth, round shape. Carefully scoop the shaped dough and invert it onto the prepared sesame seeds. Transfer the dough, seam-side up, into a floured, 10-inch round proofing basket. Repeat this process for the second piece of dough.
Day 2:

8. Proof (4:15 p.m. Day 1 to 9:00 a.m. Day 2)
Cover the proofing baskets with reusable plastic bags, sealing them tightly. Place the baskets in the refrigerator for an overnight cold proof.
9. Bake (9:00 a.m.)
Preheat your oven to 450°F (230°C) with an oven rack positioned in the bottom third. Place your chosen baking vessel (Dutch oven, combo cooker, baking stone/steel with a steaming pan) on the rack.

Remove one proofing basket from the refrigerator. Uncover it and place a piece of parchment paper over the top. Position a pizza peel or inverted baking sheet on top of the parchment paper and, holding both firmly, flip the entire assembly over. Gently remove the basket and score the dough as desired.
Carefully slide the dough into the preheated baking vessel. Introduce steam to the oven by either covering the vessel, using a dedicated steaming pan with ice, or employing a specialized baking shell. Bake for 20 minutes. After 20 minutes, vent the steam by removing the lid from the Dutch oven or taking out the steaming pan. Continue baking for an additional 30 minutes, or until the loaf achieves an internal temperature of approximately 204°F (95°C) and exhibits a deeply colored, well-developed crust. Repeat the baking process for the second loaf.
Allow the loaves to cool completely on a wire rack for 1 to 2 hours before slicing to ensure the crumb has fully set.
Frequently Asked Questions
What can I use instead of aniseed?
Caraway seeds offer a similar warm, slightly spicy note that would complement this bread well.

What can I use instead of barley malt syrup?
For a profile with more bitter and rich undertones, blackstrap molasses is an excellent substitute. Alternatively, honey can be used for a sweeter, more floral flavor that pairs beautifully with anise.
Expanding the Sourdough Repertoire
For those who enjoyed this exploration of buckwheat in sourdough, the Soft Honey Buckwheat Sandwich Bread offers another delightful variation, presenting a rich yet sweet loaf perfect for everyday enjoyment. Happy baking!