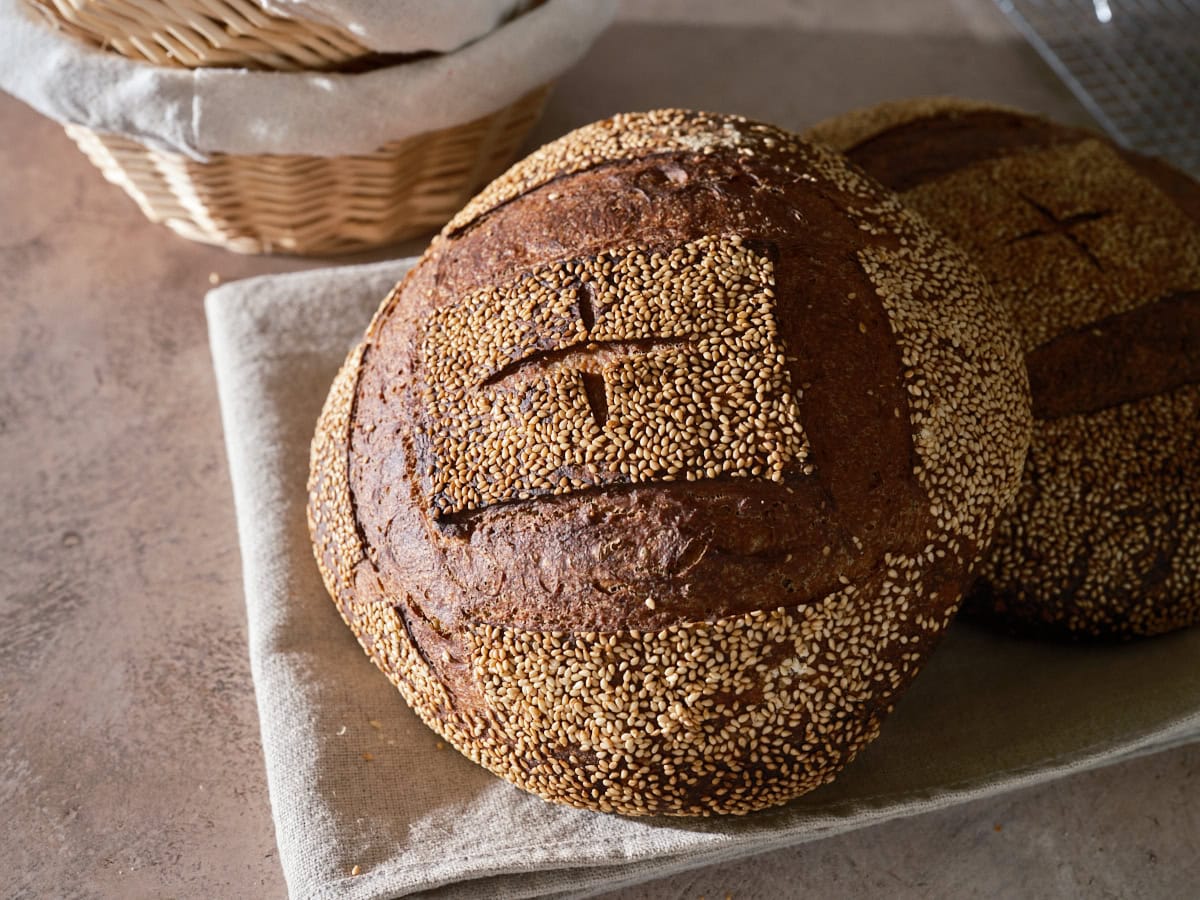
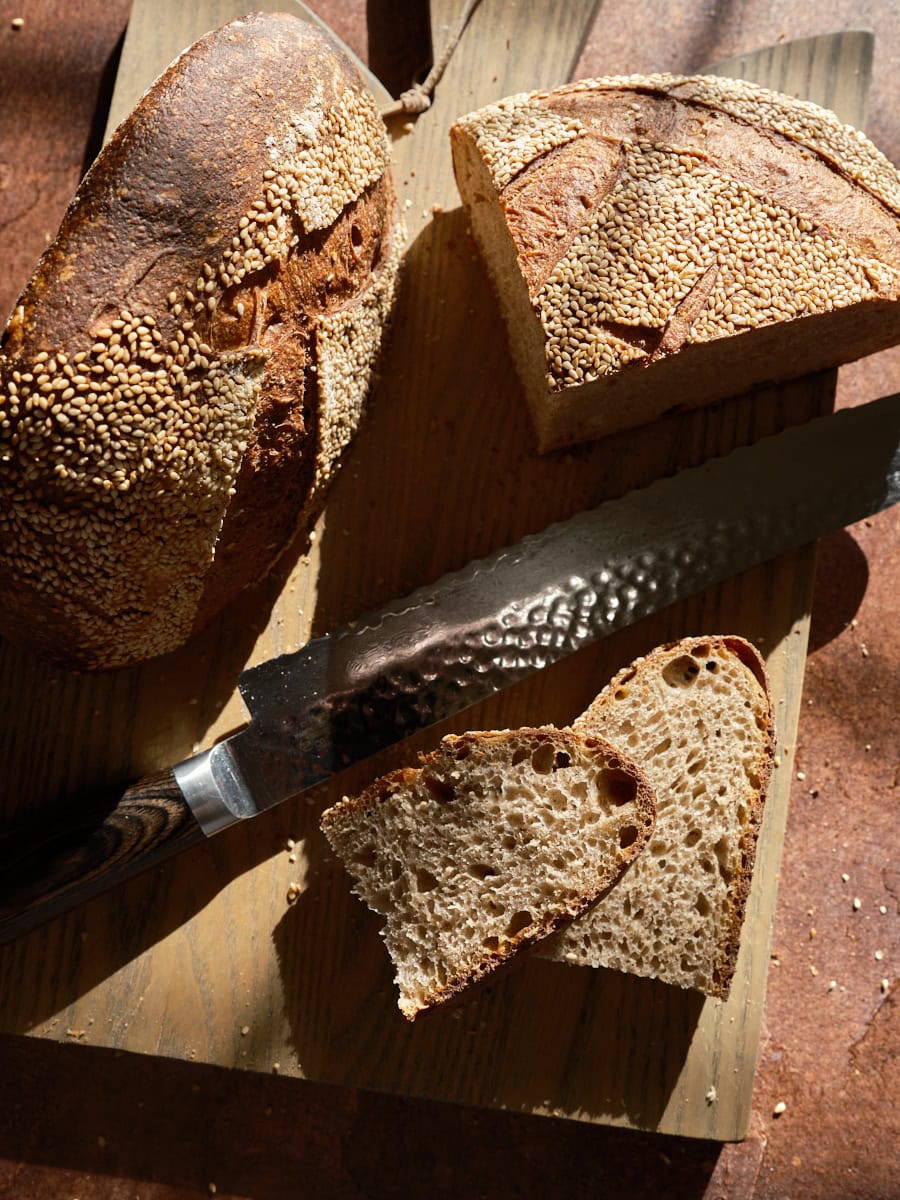
The persistent chill that has gripped the month far longer than anticipated calls for a comforting, flavorful bread, and this spice-forward, hearty sourdough fits the bill perfectly. While the frigid weather might seem like an obstacle to baking, it can, in fact, be a powerful motivator to fire up the oven and coax a well-proofed dough into delicious existence. The challenges of early darkness and dry, biting cold are undeniable, but the process of creating this particular loaf offers a welcome antidote. From the initial pungent aroma of freshly ground anise to the rich sweetness of malt, the visually appealing buckwheat-speckled dough, and the remarkably silky texture achieved through the flour scald, each step is designed to make the cold recede, even if just for a little while.
The distinctive, licorice-sweet fragrance of anise is a beloved spice in baking, whether used whole in recipes like sourdough discard biscotti, or ground into a fine powder for cookies and cakes. It’s a spice that doesn’t shy away; its presence is immediate and assertive. This characteristic boldness makes it an intriguing partner for the nutty, mineral, and subtly tannic notes of buckwheat. The combination promises a sourdough loaf that is not only balanced but also deeply irresistible. To crown this flavorful creation, a generous topping of striking white sesame seeds not only complements the inherent spice and sweetness of the bread but also adds a visually stunning contrast to the rustic, whole-grain appearance.
The Science and Art of the Flour Scald
A key technique employed in this recipe is the flour scald, a method that significantly enhances both the flavor and texture of the final bread. Scalding flour involves simply combining it with boiling water, which gelatinizes the starches. This process transforms the flour into a thick, smooth paste, akin to the Japanese yudane technique and closely related to tangzhong. The resulting scald is intensely aromatic and flavorful, and critically, it plays a vital role in retaining moisture within the bread. By trapping water, the scald helps to keep the loaf softer for longer periods, effectively delaying the staling process. This simple yet effective step is a go-to for bakers seeking to elevate their creations with an extra layer of complexity and a superior crumb.
Flour Selection: Building a Foundation of Flavor and Nutrition
The foundation of this hearty loaf is built upon high-extraction flour, specifically Type 85. This choice aligns with the goal of creating a bread that is both robust and suitable for substantial sandwiches. Cairnspring’s Trailblazer, a high-extraction Type 85 flour, is a favored ingredient due to its versatility and the subtle enhancement it brings to baked goods. Its inclusion means more bran and germ are present in the flour, contributing to a richer flavor profile and increased nutritional value compared to standard white flours.
Buckwheat, while not a true cereal grain but rather a pseudocereal, introduces a distinct earthiness to the dough. Based on previous baking experiences, even small percentages of buckwheat can influence the crumb structure, sometimes leading to a tighter interior due to its lack of gluten-forming proteins. However, this trade-off is well worth it for the intense, grounding flavor and the beautiful, deep color it imparts to the finished loaf.
A Two-Day Baking Journey: Efficiency and Flavor Development
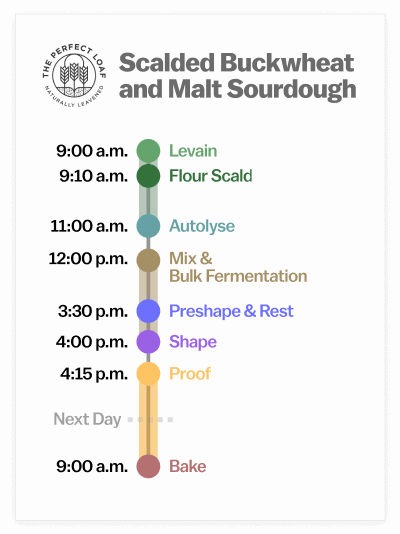
This sourdough bread recipe is designed to be completed over two days, minimizing hands-on time for the baker. The process begins with the preparation of the levain, followed by the flour scald. The bulk fermentation phase, crucial for flavor development and dough strength, requires only two sets of stretches and folds at 30-minute intervals. Following this, the dough undergoes a cold proof in the refrigerator overnight, a period that further deepens flavor and makes the dough easier to handle for shaping. The following morning, the loaves are baked, offering the choice of enjoying them fresh for lunch or waiting until the evening for a warm, crusty loaf to accompany dinner.
Vitals of the Recipe
This recipe yields two loaves, each weighing approximately 900 grams. For bakers looking to adjust the quantity, all ingredients can be halved to produce a single loaf. The precise calculations for scaling the recipe up or down are available through specialized baking resources for those who wish to experiment with different batch sizes.
- Total Dough Weight: 1,800 grams
- Prefermented Flour: 5.8%
- Levain in Final Dough: 18.5%
- Hydration: 75.0% (calculated at 83% when including the water from the flour scald)
- Yield: Two 900g loaves
The recipe aims for a final dough temperature of 78°F (26°C). Maintaining the correct dough temperature is a critical factor in successful sourdough baking, influencing fermentation rates and the development of flavor and structure.
Total Formula Breakdown
- Scald:
- Buckwheat flour: 46g (5.0% of total flour)
- Water (boiling): 73g (8.0% of total flour)
- Main Dough Ingredients:
- High-extraction wheat flour (Type 85): 687g (75.0% of total flour)
- Whole wheat flour: 183g (20.0% of total flour)
- Barley malt syrup: 46g (5.0% of total flour)
- Aniseed, ground: 6g (0.6% of total flour)
- Water 1 (for levain and autolyse): 596g (65.0% of total flour)
- Water 2 (for final mix): 92g (10.0% of total flour)
- Fine sea salt: 18g (2.0% of total flour)
- Ripe sourdough starter (100% hydration): 53g (5.8% of total flour)
Method: A Step-by-Step Guide to Crafting the Loaf
1. Prepare the Levain (9:00 a.m.)
The levain, the sourdough starter’s active culture, is prepared first to ensure it is ripe and ready for incorporation into the dough.
- Ingredients:
- High-extraction wheat flour: 53g (100% of levain flour)
- Water: 53g (100% of levain water)
- Ripe sourdough starter (100% hydration): 53g (100% of levain starter)
Combine these ingredients in a clean jar or container, cover, and allow to ripen at a warm temperature, ideally between 74-76°F (23-24°C), for approximately 3 hours. This period allows the wild yeasts and bacteria in the starter to become active and multiply, creating the leavening power for the bread.
2. Prepare the Flour Scald (9:10 a.m.)
Simultaneously, the flour scald is prepared to allow it to cool.
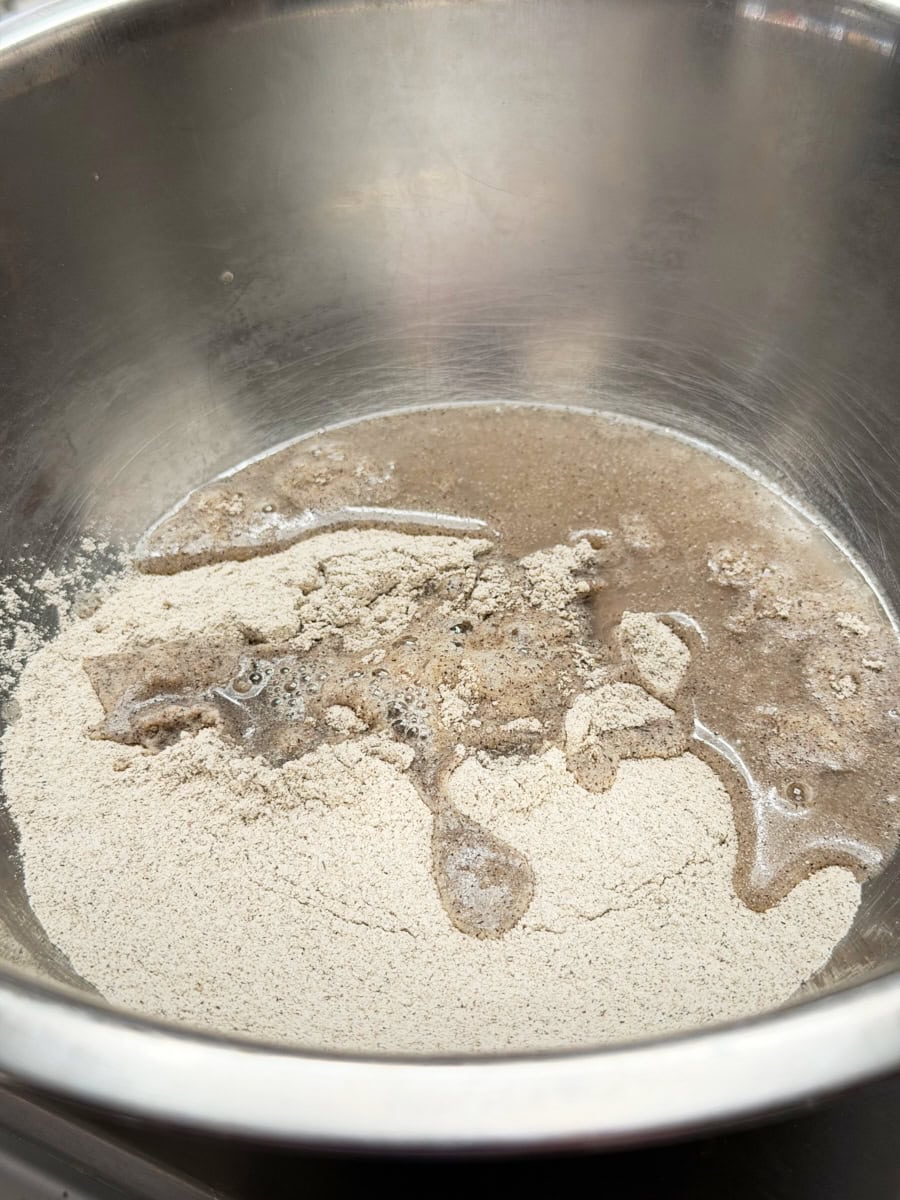
- Ingredients:
- Buckwheat flour: 46g
- Water, boiling: 73g
In a small bowl, combine the buckwheat flour and pour the boiling water over it. Stir vigorously until a thick, smooth paste forms. If the mixture appears too dry, a small additional splash of boiling water can be added. Cover the bowl and set aside until ready for use in the autolyse stage. This scald will release a highly aromatic and flavorful component into the dough.
3. Autolyse (11:00 a.m.)
The autolyse is a resting period that allows the flour to fully hydrate and enzymes to begin breaking down starches and proteins, contributing to dough extensibility and flavor.
- Ingredients:
- High-extraction wheat flour: 634g
- Whole wheat flour: 183g
- Water 1 (for autolyse): 543g (Note: This is part of the total water for the main dough)
- Flour scald (from Step 2)
Using a water temperature calculator can help achieve the target final dough temperature. Combine the flours, the autolyse water, and the prepared flour scald in a large bowl. Mix with wet hands or a dough whisk until no dry flour remains. The dough will appear shaggy and loose at this stage. Scrape the dough to the bottom of the bowl and cover. Let it rest for 1 hour. By the end of the autolyse, the dough will feel more cohesive and hydrated.

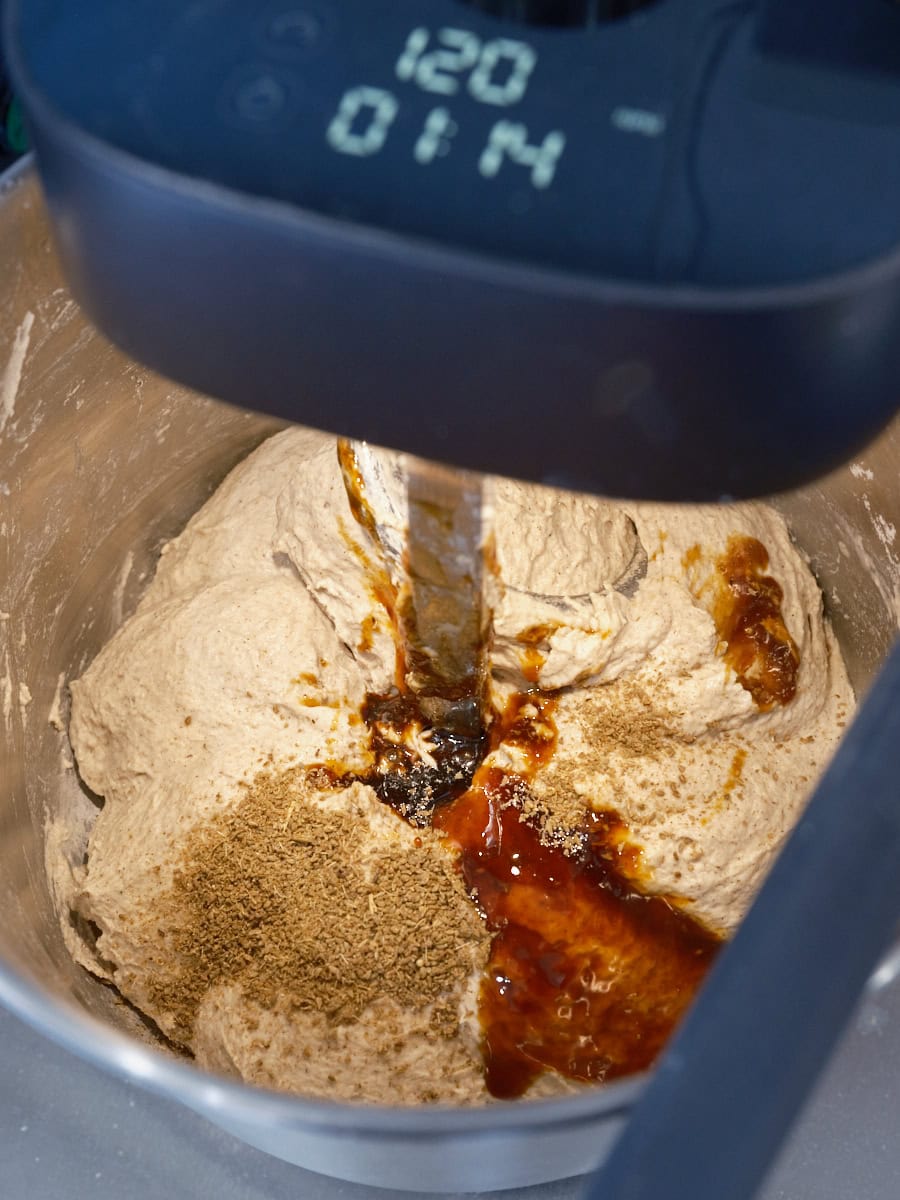
4. Mix the Dough (12:00 p.m.)
This stage incorporates the remaining ingredients, including the levain, salt, and any reserved water.
- Ingredients:
- Water 2 (reserved for mixing): 92g
- Fine sea salt: 18g
- Ripe levain (from Step 1): 159g
This recipe features a high hydration level, which can result in a slack and sticky dough. The technique of reserving a portion of the water (Water 2) and adding it gradually, known as bassinage, helps to manage the hydration and achieve optimal dough consistency without over-hydrating.
Mixing with a Mechanical Mixer:
The dough can be mixed in a spiral mixer. The process involves gradually incorporating the salt and levain, followed by the reserved water, until the dough achieves a smooth and elastic consistency.
Mixing by Hand:
To mix by hand, add the salt and levain to the autolysed dough, along with a small amount of Water 2 to moisten. Mix thoroughly with wet hands or a dough whisk. Knead for about 5 minutes using either the slap-and-fold technique or the folds-in-the-bowl method until the dough becomes smooth and less shaggy. Transfer the dough to a bulk fermentation container. If the dough still feels cohesive but shaggy, incorporate the remaining Water 2. Knead for another 3-5 minutes until smoother and more cohesive.
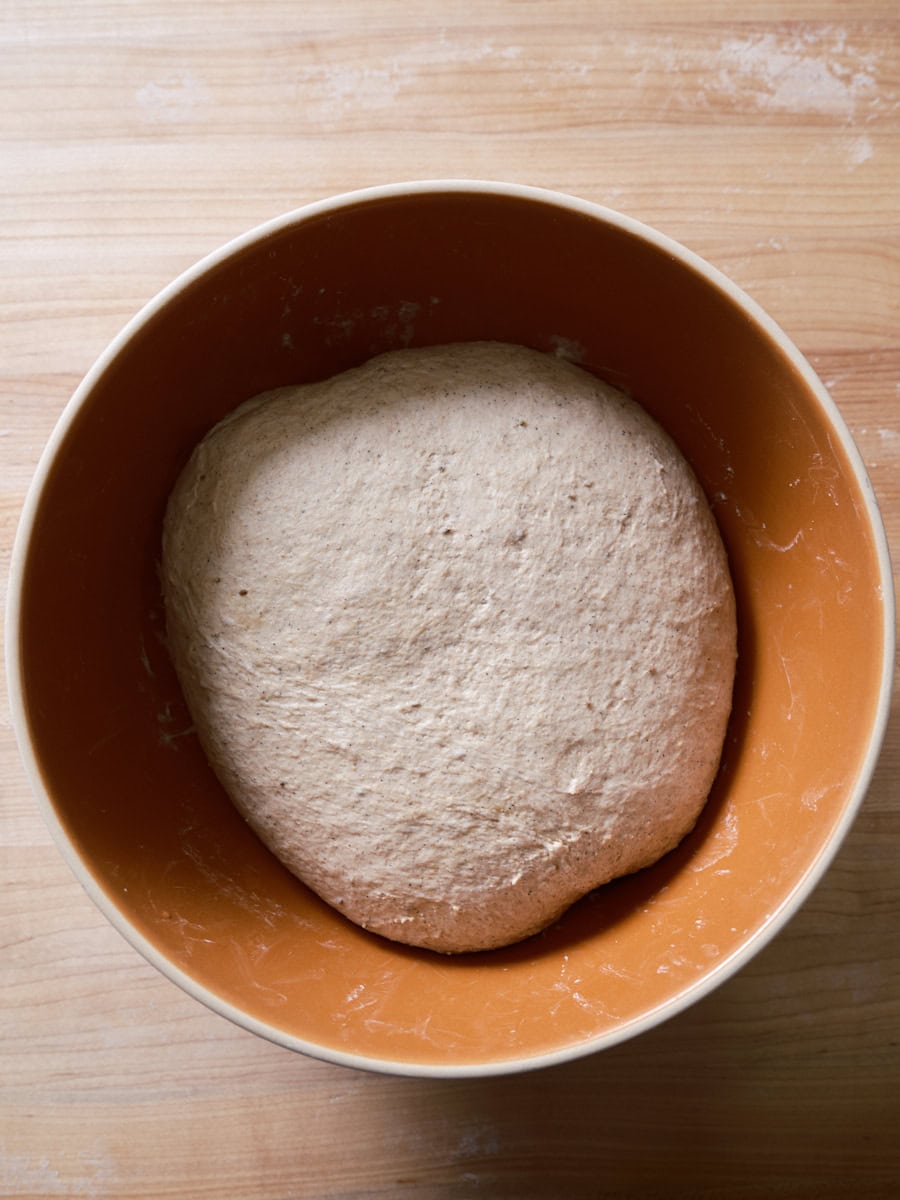
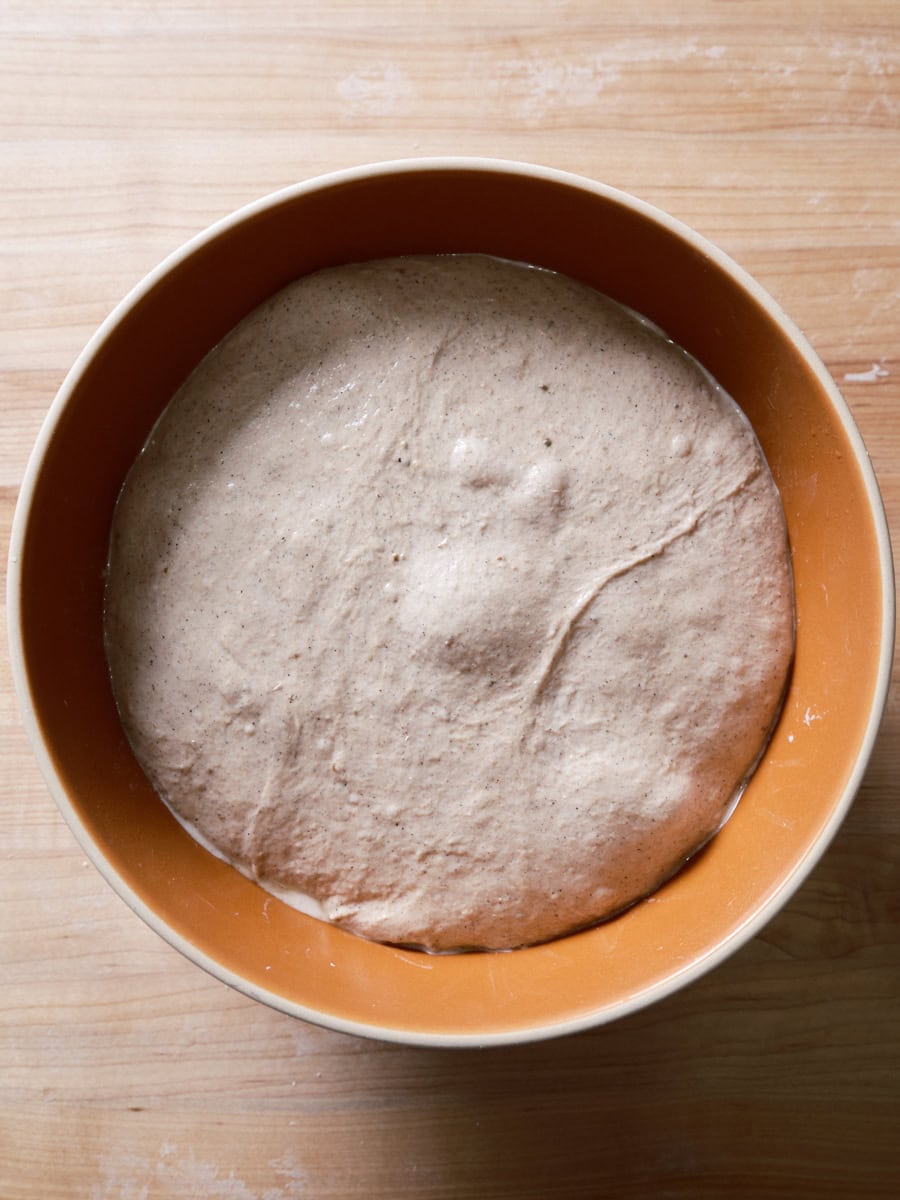
5. Bulk Fermentation (12:30 p.m. to 3:30 p.m. – 3 hours)
Bulk fermentation is the primary fermentation period where the dough develops its structure, flavor, and volume. This phase typically lasts about 3 hours at a warm room temperature of 74-76°F (23-24°C).
During this time, two sets of stretches and folds are performed at 30-minute intervals. This technique gently develops gluten without degassing the dough excessively, contributing to a better crumb structure. After the second set of folds, the dough is left undisturbed to complete its bulk fermentation, aiming for an approximate 30% increase in volume.
6. Pre-shape (3:30 p.m.)
Once bulk fermentation is complete, the dough is gently turned out onto a lightly floured surface. It is then divided in half, and each portion is pre-shaped into a loose round. This step helps to build surface tension and organize the dough structure before the final shaping. The pre-shaped rounds are then allowed to rest for 30 minutes, uncovered, to relax the gluten.
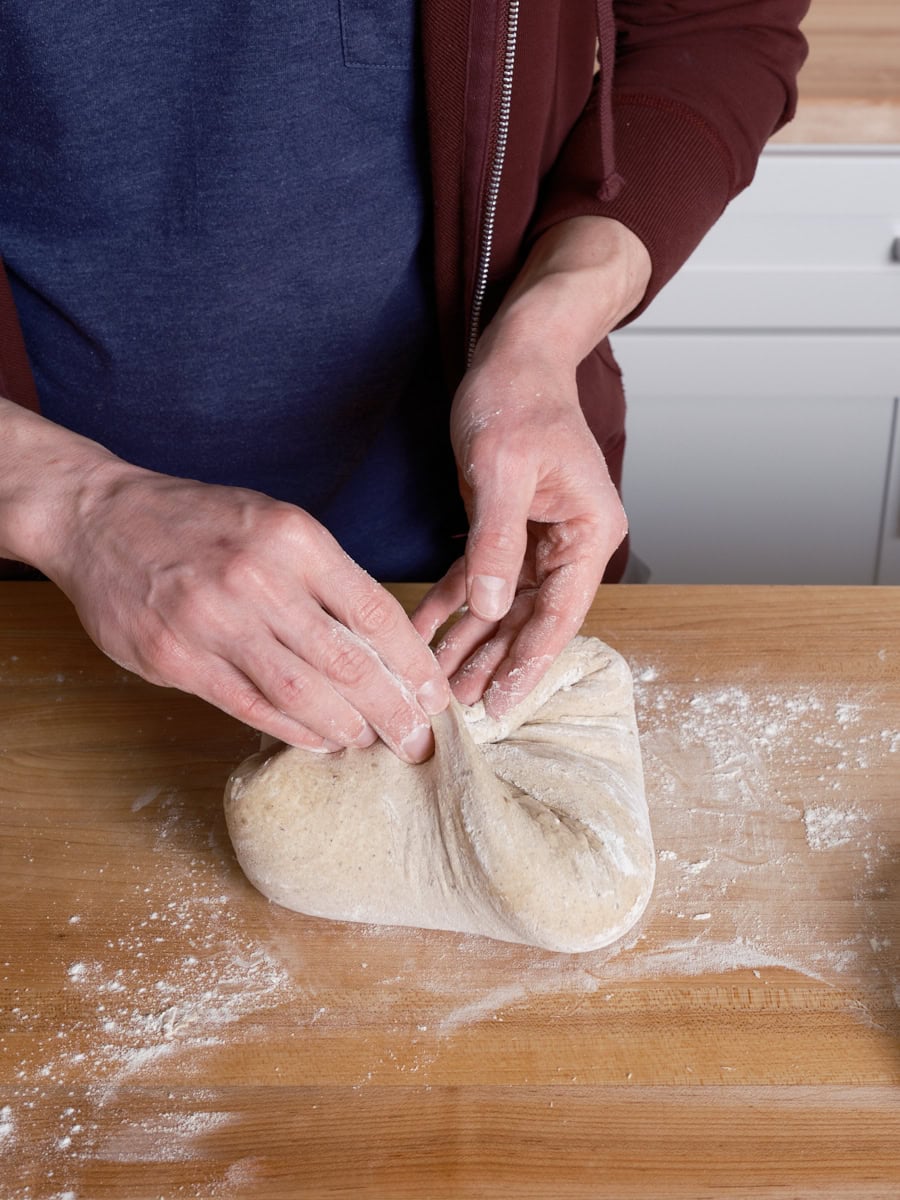
7. Shape (4:00 p.m.)
The final shaping of the loaves is a crucial step that dictates the final form and crust. An even layer of white sesame seeds is spread on a kitchen towel or baking sheet. The pre-shaped dough rounds are flipped onto this surface. Using a "gather up" method, the dough is folded inwards from opposing points, then from the remaining points, creating tension on the surface. The dough is then flipped again, and by dragging it towards the baker, a smooth, taut ball is formed. This shaped dough is then inverted onto the sesame seed-covered surface and carefully placed seam-side up into a prepared proofing basket.
8. Proof (4:15 p.m. to 9:00 a.m. the next day)
The shaped loaves are covered with reusable plastic bags and sealed to prevent drying. They are then placed in the refrigerator for an overnight cold proof. This extended, cold fermentation period is vital for developing complex flavors and achieving a desirable texture.
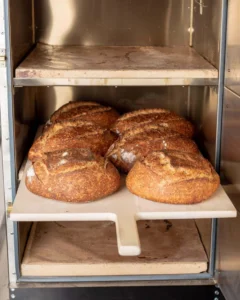
9. Bake (9:00 a.m. the following day)
The baking process begins with preheating the oven to 450°F (230°C) with a Dutch oven or baking stone in place. This ensures a hot surface for optimal oven spring.
One loaf is removed from the refrigerator, placed on parchment paper, and scored with a lame or razor blade. The loaf is then carefully transferred into the preheated Dutch oven. Steam is generated by covering the Dutch oven or by adding ice to a preheated pan at the bottom of the oven. The bread is baked for 20 minutes with steam.
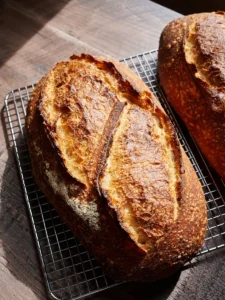
After 20 minutes, the steam is released by removing the lid of the Dutch oven or the steaming pan. The baking continues for another 30 minutes, or until the crust is deeply colored and the internal temperature of the loaf reaches approximately 204°F (95°C). The process is repeated for the second loaf. After baking, the loaves are placed on a wire rack to cool for at least 1 to 2 hours before slicing, allowing the crumb to set and moisture to equalize.
Frequently Asked Questions
What can I use instead of aniseed?
For a similar warm, spicy note, caraway seeds are an excellent substitute. They offer a distinct flavor profile that also pairs well with the other ingredients in this bread.
What can I use instead of barley malt syrup?
If barley malt syrup is unavailable, blackstrap molasses can be used for a richer, slightly more bitter flavor. Alternatively, honey offers a pleasant floral sweetness that complements the anise beautifully.
Expanding the Sourdough Repertoire
For those who have enjoyed this recipe and wish to explore more buckwheat-infused sourdough creations, the Soft Honey Buckwheat Sandwich Bread offers a rich, sweet, and tender loaf that is perfect for everyday enjoyment. This recipe, like many other artisanal bread recipes, encourages experimentation and discovery in the baker’s kitchen.

The journey of crafting this Scalded Buckwheat and Malt Sourdough Bread is a testament to the transformative power of simple ingredients and thoughtful techniques. It’s a recipe that not only combats the chill of the season but also nourishes the soul with its complex flavors and satisfying textures.