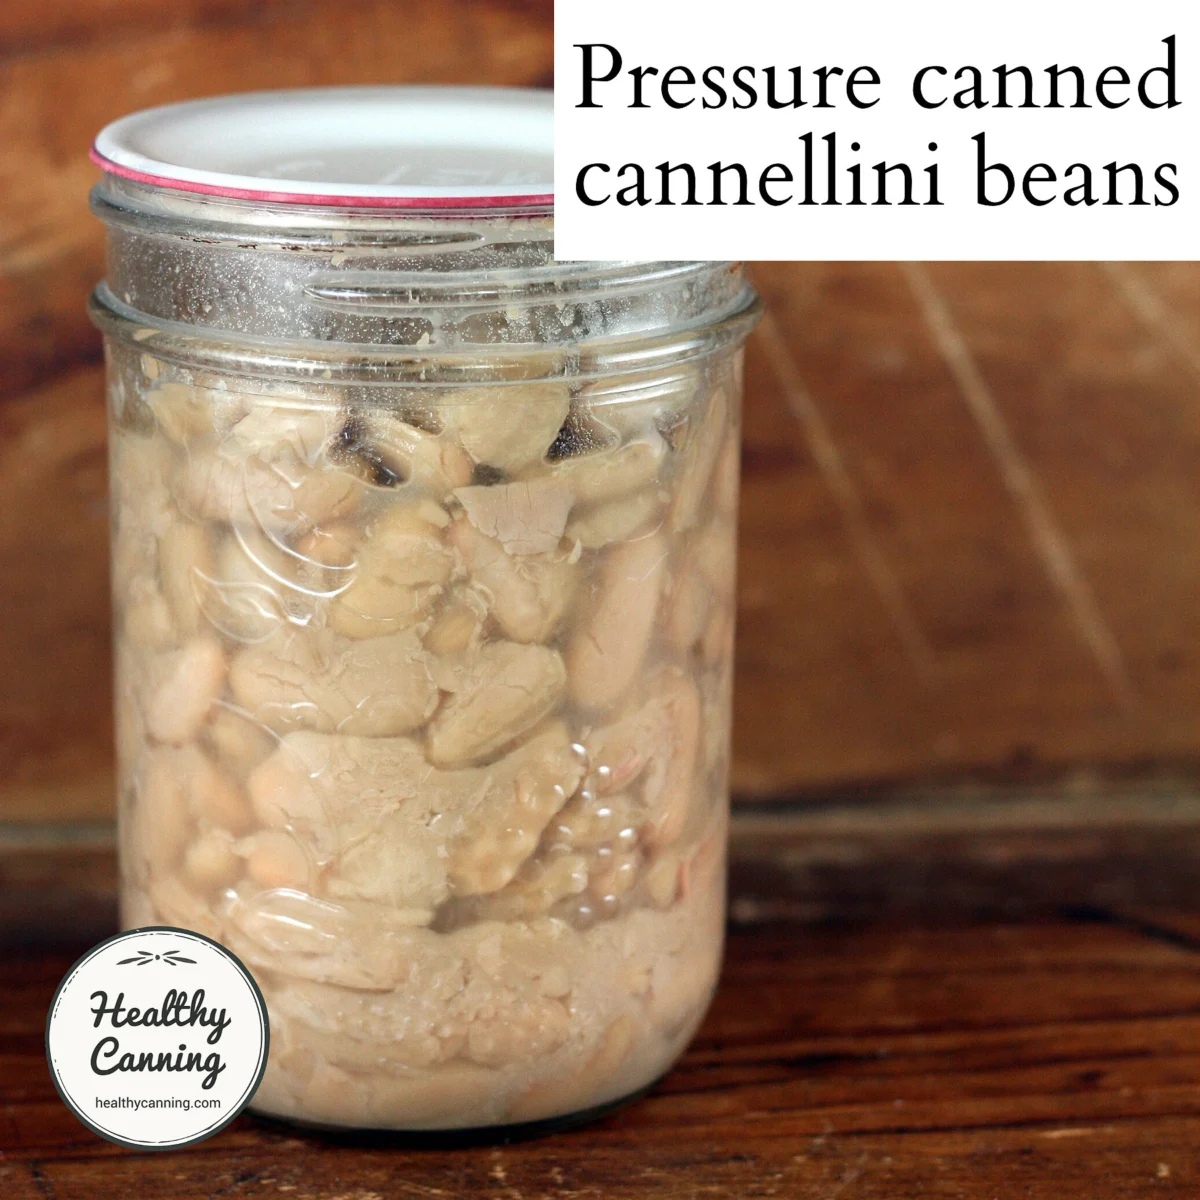

Preserving dried beans at home has experienced a notable resurgence among culinary enthusiasts, homesteaders, and budget-conscious households looking to control their food supply and reduce reliance on commercially packaged goods. Among the varieties favored by home cooks, cannellini beans—often referred to as white kidney beans—stand out for their rich, creamy texture and distinct nutty flavor profile. While home canning these versatile legumes requires specific equipment and strict adherence to food safety protocols, mastering the process offers significant benefits in terms of meal preparation, nutritional value, and long-term pantry storage.
The resurgence in home pressure canning aligns with broader consumer trends emphasizing self-sufficiency, chemical-free nutrition, and culinary customization. Unlike commercial canned beans, which often contain high levels of sodium, chemical preservatives, or firming agents like calcium chloride, home-canned alternatives put the ingredient list entirely in the hands of the cook. However, achieving safe and successful results demands an understanding of food science, proper preparation techniques, and strict compliance with guidelines established by food safety authorities such as the United States Department of Agriculture (USDA).
Understanding the Properties of Home-Canned Cannellini Beans
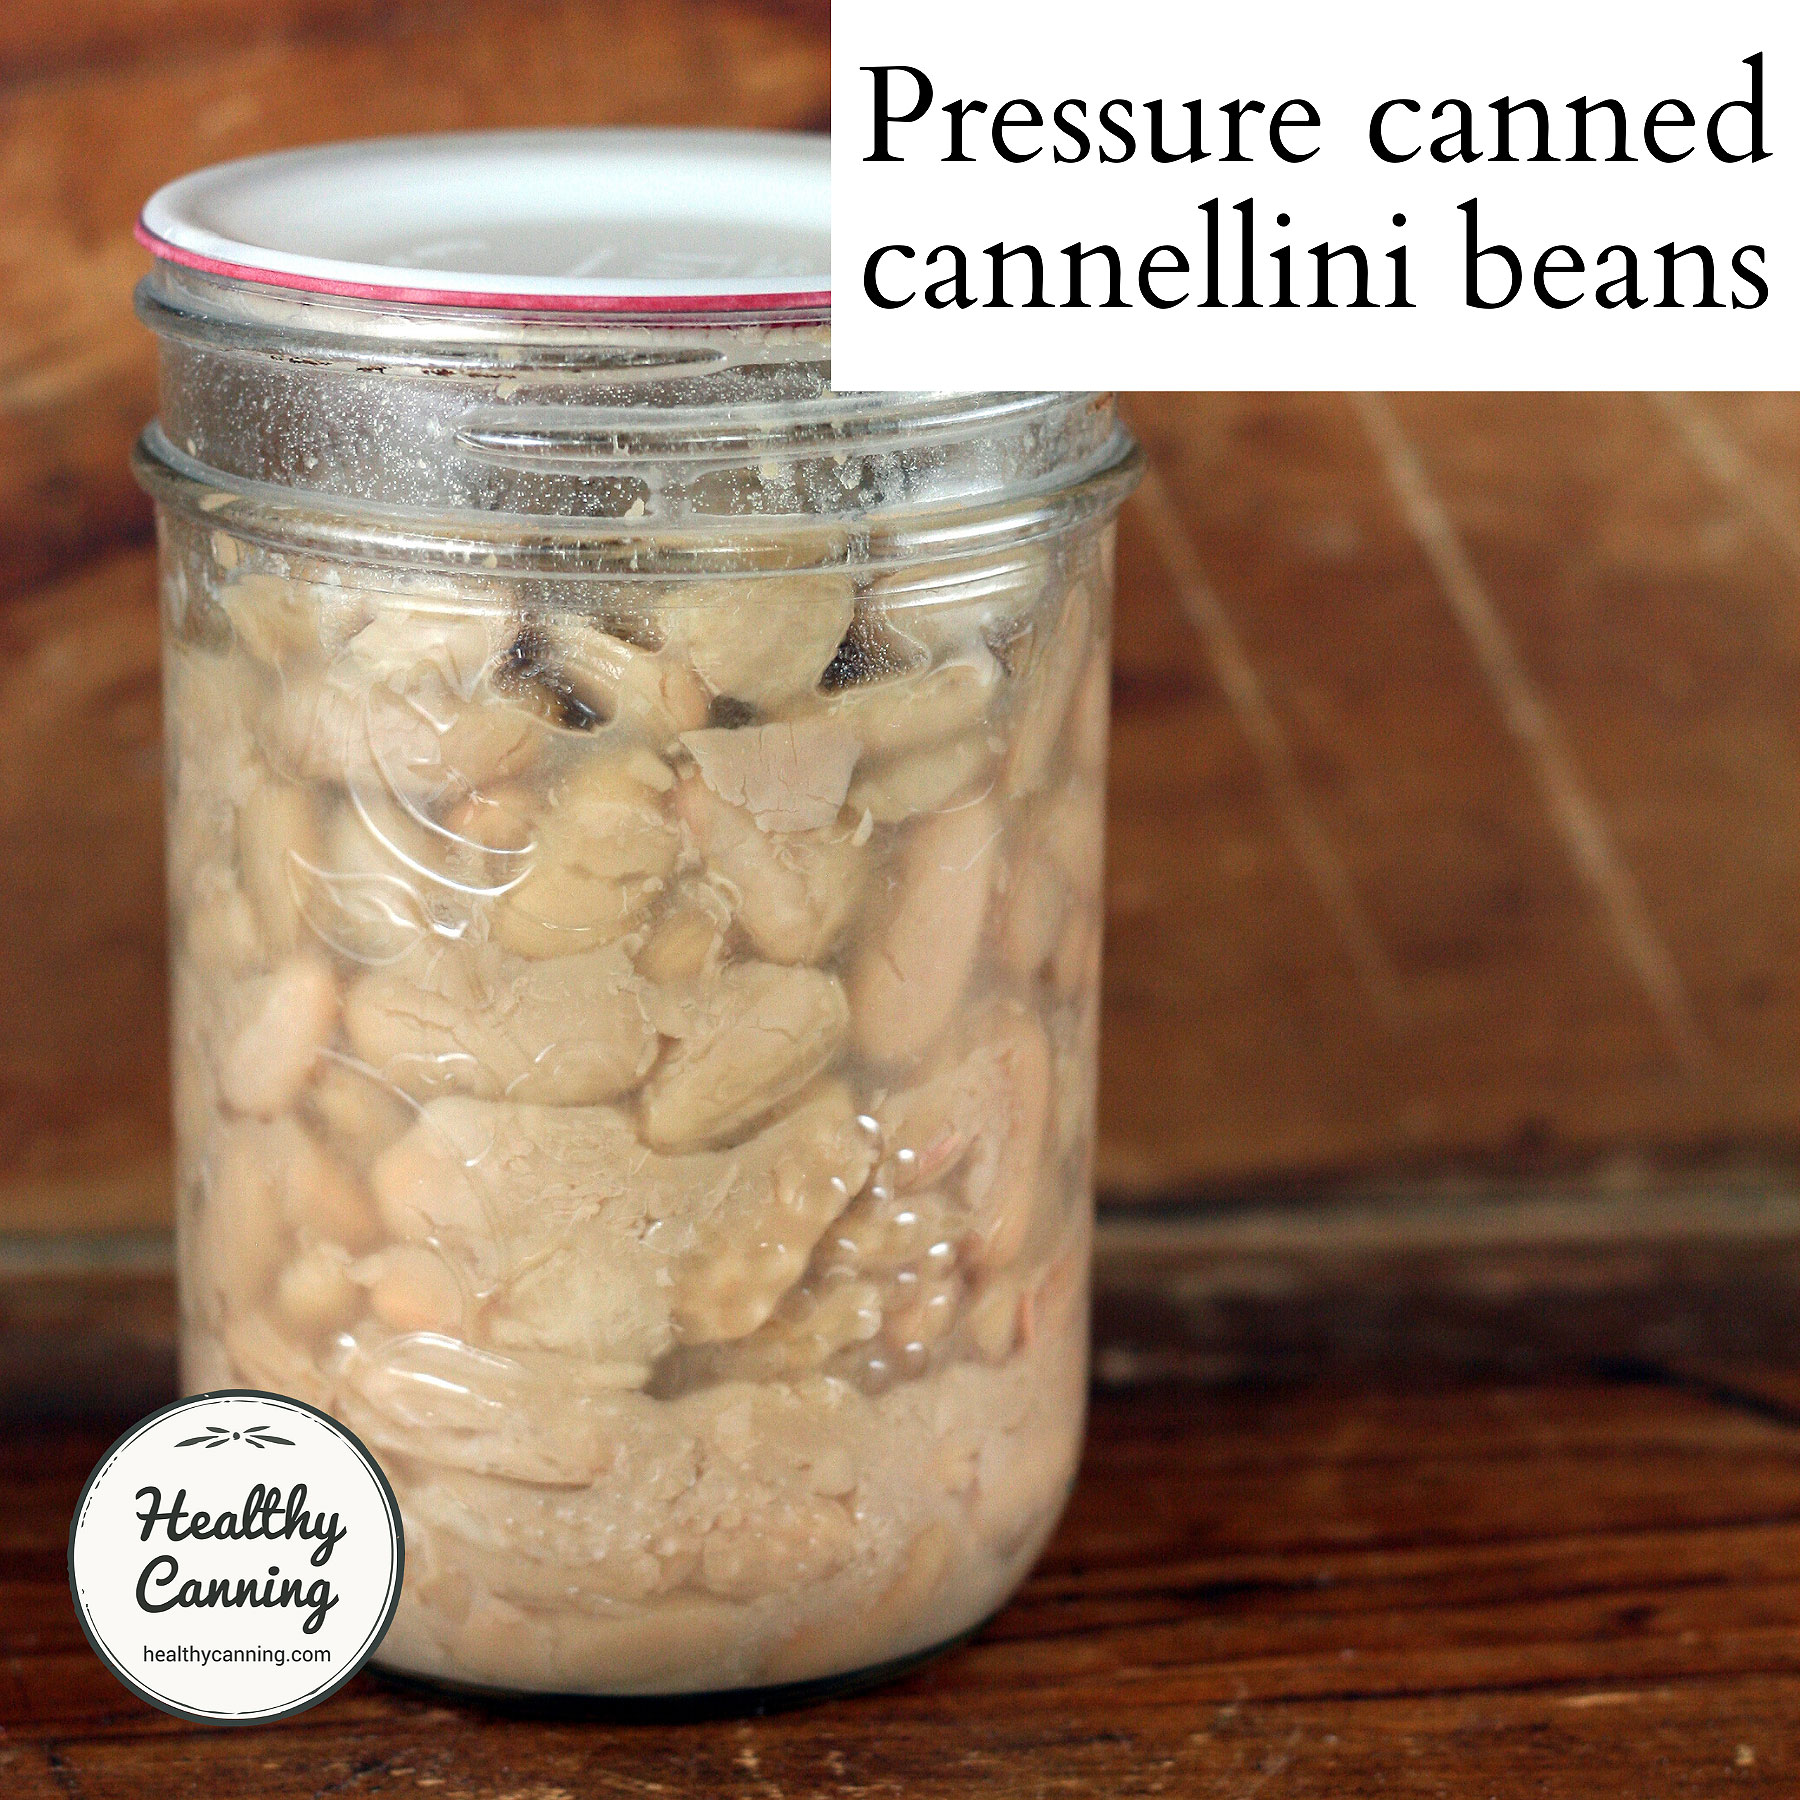
Before embarking on a home-canning project, culinary experts emphasize the importance of understanding the physical characteristics of cannellini beans after they undergo pressure processing. Because the dense starches of white kidney beans require high-heat processing to eliminate harmful bacteria, the resulting texture is notably soft.
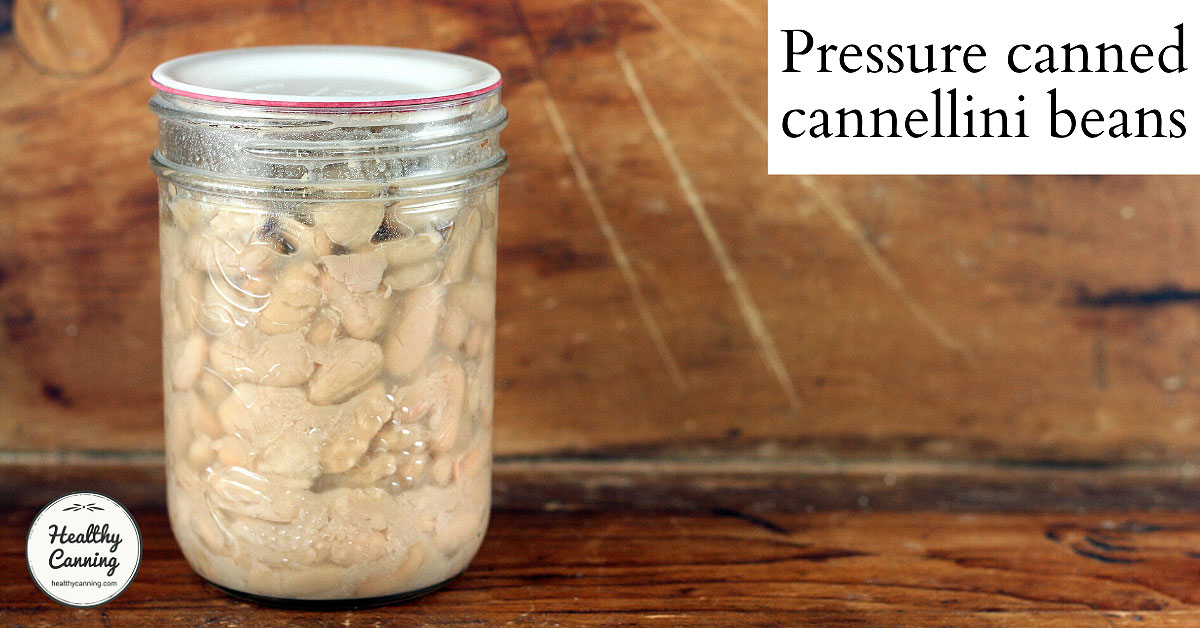
Consequently, home-canned cannellini beans are generally unsuited for chilled bean salads or antipasti platters where structural integrity and a firm bite are required. Instead, their exceptionally tender consistency makes them an ideal addition to rustic soups, hearty stews, blended dips, spreads, and savory bean pâtés. When folded into warm dishes, they seamlessly melt into liquids, imparting a rich thickness and a velvety mouthfeel that rivals slow-simmered scratch-made broths.
From a nutritional standpoint, these legumes are a powerhouse. A standard half-cup serving (approximately 130 grams) of cooked, salt-free home-canned cannellini beans yields roughly 100 calories while providing an impressive nutritional profile: 17 grams of carbohydrates, 6 grams of protein, and 5 grams of dietary fiber. Furthermore, they supply essential minerals including 250 milligrams of potassium, 40 milligrams of calcium, and 1.8 milligrams of iron, all while containing negligible fat and sodium when canned plain.
Essential Equipment and Safety Protocols
Low-acid foods, a category that includes all types of beans, cannot be safely processed using simple boiling water bath methods. The risk of Clostridium botulinum—a bacterium that produces a lethal toxin in low-acid, oxygen-free environments—requires the use of a pressure canner capable of reaching internal temperatures of 240°F (116°C) or higher.
Home canners must select appropriate jar sizes for this process, which include quarter-litre (half-US-pint), half-litre (one-US-pint), and one-litre (one-US-quart) jars. Maintaining a precise headspace of 3 centimeters (1 inch) is critical to ensure a proper vacuum seal and to prevent expansion during processing from forcing food particles onto the sealing rim, which could lead to seal failure.
Processing times and pressures vary according to jar capacity and geographical altitude. Based on the USDA Complete Guide to Home Canning, standard processing times are set at 75 minutes for quarter-litre and half-litre jars, and 90 minutes for one-litre jars.
Altitude and Pressure Adjustments
A critical factor in successful pressure canning is the adjustment of processing pressure based on elevation. Atmospheric pressure decreases as altitude increases, meaning that water boils at lower temperatures and canners must increase the applied pressure to achieve the necessary internal processing temperature.
For those utilizing a weighted-gauge pressure canner:
- At elevations from 0 to 300 meters (0 to 1,000 feet), the required pressure is 10 lbs (69 kPa).
- At elevations above 300 meters (1,000 feet), the required pressure must be increased to 15 lbs (105 kPa).
Cooks utilizing dial-gauge pressure canners must consult specific regional conversion charts, as dial gauges measure exact pressure increments that differ slightly from weighted systems (typically requiring 11 lbs at lower elevations and 15 lbs at higher elevations). Failure to adjust for altitude can result in under-processing, leaving preserved goods vulnerable to bacterial survival and subsequent spoilage.
Step-by-Step Preparation and Processing Chronology
To ensure a safe and efficient workflow, home canners should follow a structured timeline from preparation to final cooling.
Phase 1: Preparation and Rehydration (Day Before or Morning of Canning)
- Sorting and Washing: Inspect dried cannellini beans carefully, discarding any shriveled seeds, stones, or debris. Rinse the beans thoroughly in cold water.
- Hydration Method: Dried beans must be rehydrated before canning. Cooks can choose between a long soak (covering the beans in cold water and soaking them for 12 to 18 hours in a cool place) or a hot soak (bringing the beans and water to a boil, boiling for 2 minutes, removing from heat, and soaking for 1 hour).
- Simmering: After soaking, drain the hydration water. Cover the beans with fresh water, bring to a boil, and simmer for 30 minutes. This pre-cooking step reduces starch release during pressure processing and helps prevent the beans from absorbing too much liquid inside the jars.
Phase 2: Jar Packing
- Hot Packing: Ladle the hot, pre-cooked cannellini beans into clean, sterilized jars (quarter-litre, half-litre, or litre sizes).
- Adding Liquid: Cover the beans with fresh boiling water or boiling cooking liquid, leaving a strict 3-centimeter (1-inch) headspace.
- De-bubbling and Cleaning: Run a non-metallic utensil through the jars to release any trapped air bubbles. Adjust the liquid level if necessary to maintain the 1-inch headspace. Wipe the jar rims thoroughly with a clean, damp cloth to remove any traces of starch or oil that could impede the seal. Apply two-piece canning lids and secure them to fingertip-tightness.
Phase 3: Pressure Processing
- Canner Setup: Place the rack and designated amount of water (following the manufacturer’s instructions) into the pressure canner. Load the prepared jars.
- Venting: Secure the canner lid, leave the vent pipe open, and heat the canner on high-heat setting until a steady stream of steam escapes continuously for 10 minutes. This purges all trapped air from the vessel, ensuring the internal temperature corresponds accurately to the pressure gauge.
- Processing: Close the vent by placing the weighted gauge or closing the petcock. Allow the pressure to rise until it reaches the target level (10 lbs or 15 lbs, adjusted for altitude). Begin timing immediately: 75 minutes for smaller jars, or 90 minutes for full-litre jars. Adjust heat as necessary to maintain steady pressure throughout the processing duration.
- Depurization and Cooling: Turn off the heat source and allow the pressure canner to depressurize completely on its own. Do not force-cool the canner with cold water. Once the pressure drops to zero, wait an additional few minutes, carefully open the lid away from your face to avoid steam burns, and remove the jars using a secure jar lifter. Place them upright on a towel in a draft-free location to cool undisturbed for 12 to 24 hours.
Broader Economic and Nutritional Implications
The practice of canning staple legumes at home carries notable implications for household budgets and nutritional health. Dried cannellini beans represent one of the most economical sources of plant-based protein available on the global market. Purchasing them in bulk and preserving them in reusable glass jars drastically reduces the cost per serving compared to purchasing single-serving convenience foods.
Furthermore, home preservation aligns with growing public health initiatives aimed at reducing sodium consumption. Commercial canned beans often feature high sodium levels used as a preservative and flavor enhancer, which can contribute to hypertension and related cardiovascular concerns. Home canners retain absolute control over seasoning, allowing them to produce completely sodium-free batches or customize seasoning blends with garlic, herbs, and spices prior to processing.
Food safety experts and Master Food Preservers continue to emphasize education regarding proper pressure canning techniques. While the initial investment in a reliable pressure canner and appropriate jars requires an upfront financial commitment, the long-term dividend is a shelf-stable pantry stocked with wholesome, additive-free ingredients. By adhering strictly to established guidelines regarding processing times, headspaces, and altitude adjustments, home cooks can safely enjoy the rich culinary heritage of preserved legumes while maintaining the highest standards of modern food safety.